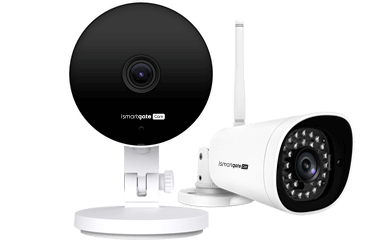
First, make sure that the camera is properly reset.
Press the Reset button on one of the wires connected for at least 30 seconds.

Connect the Ethernet cable directly to the camera and to the router, or the extender power line adapter (Ethernet via power line).
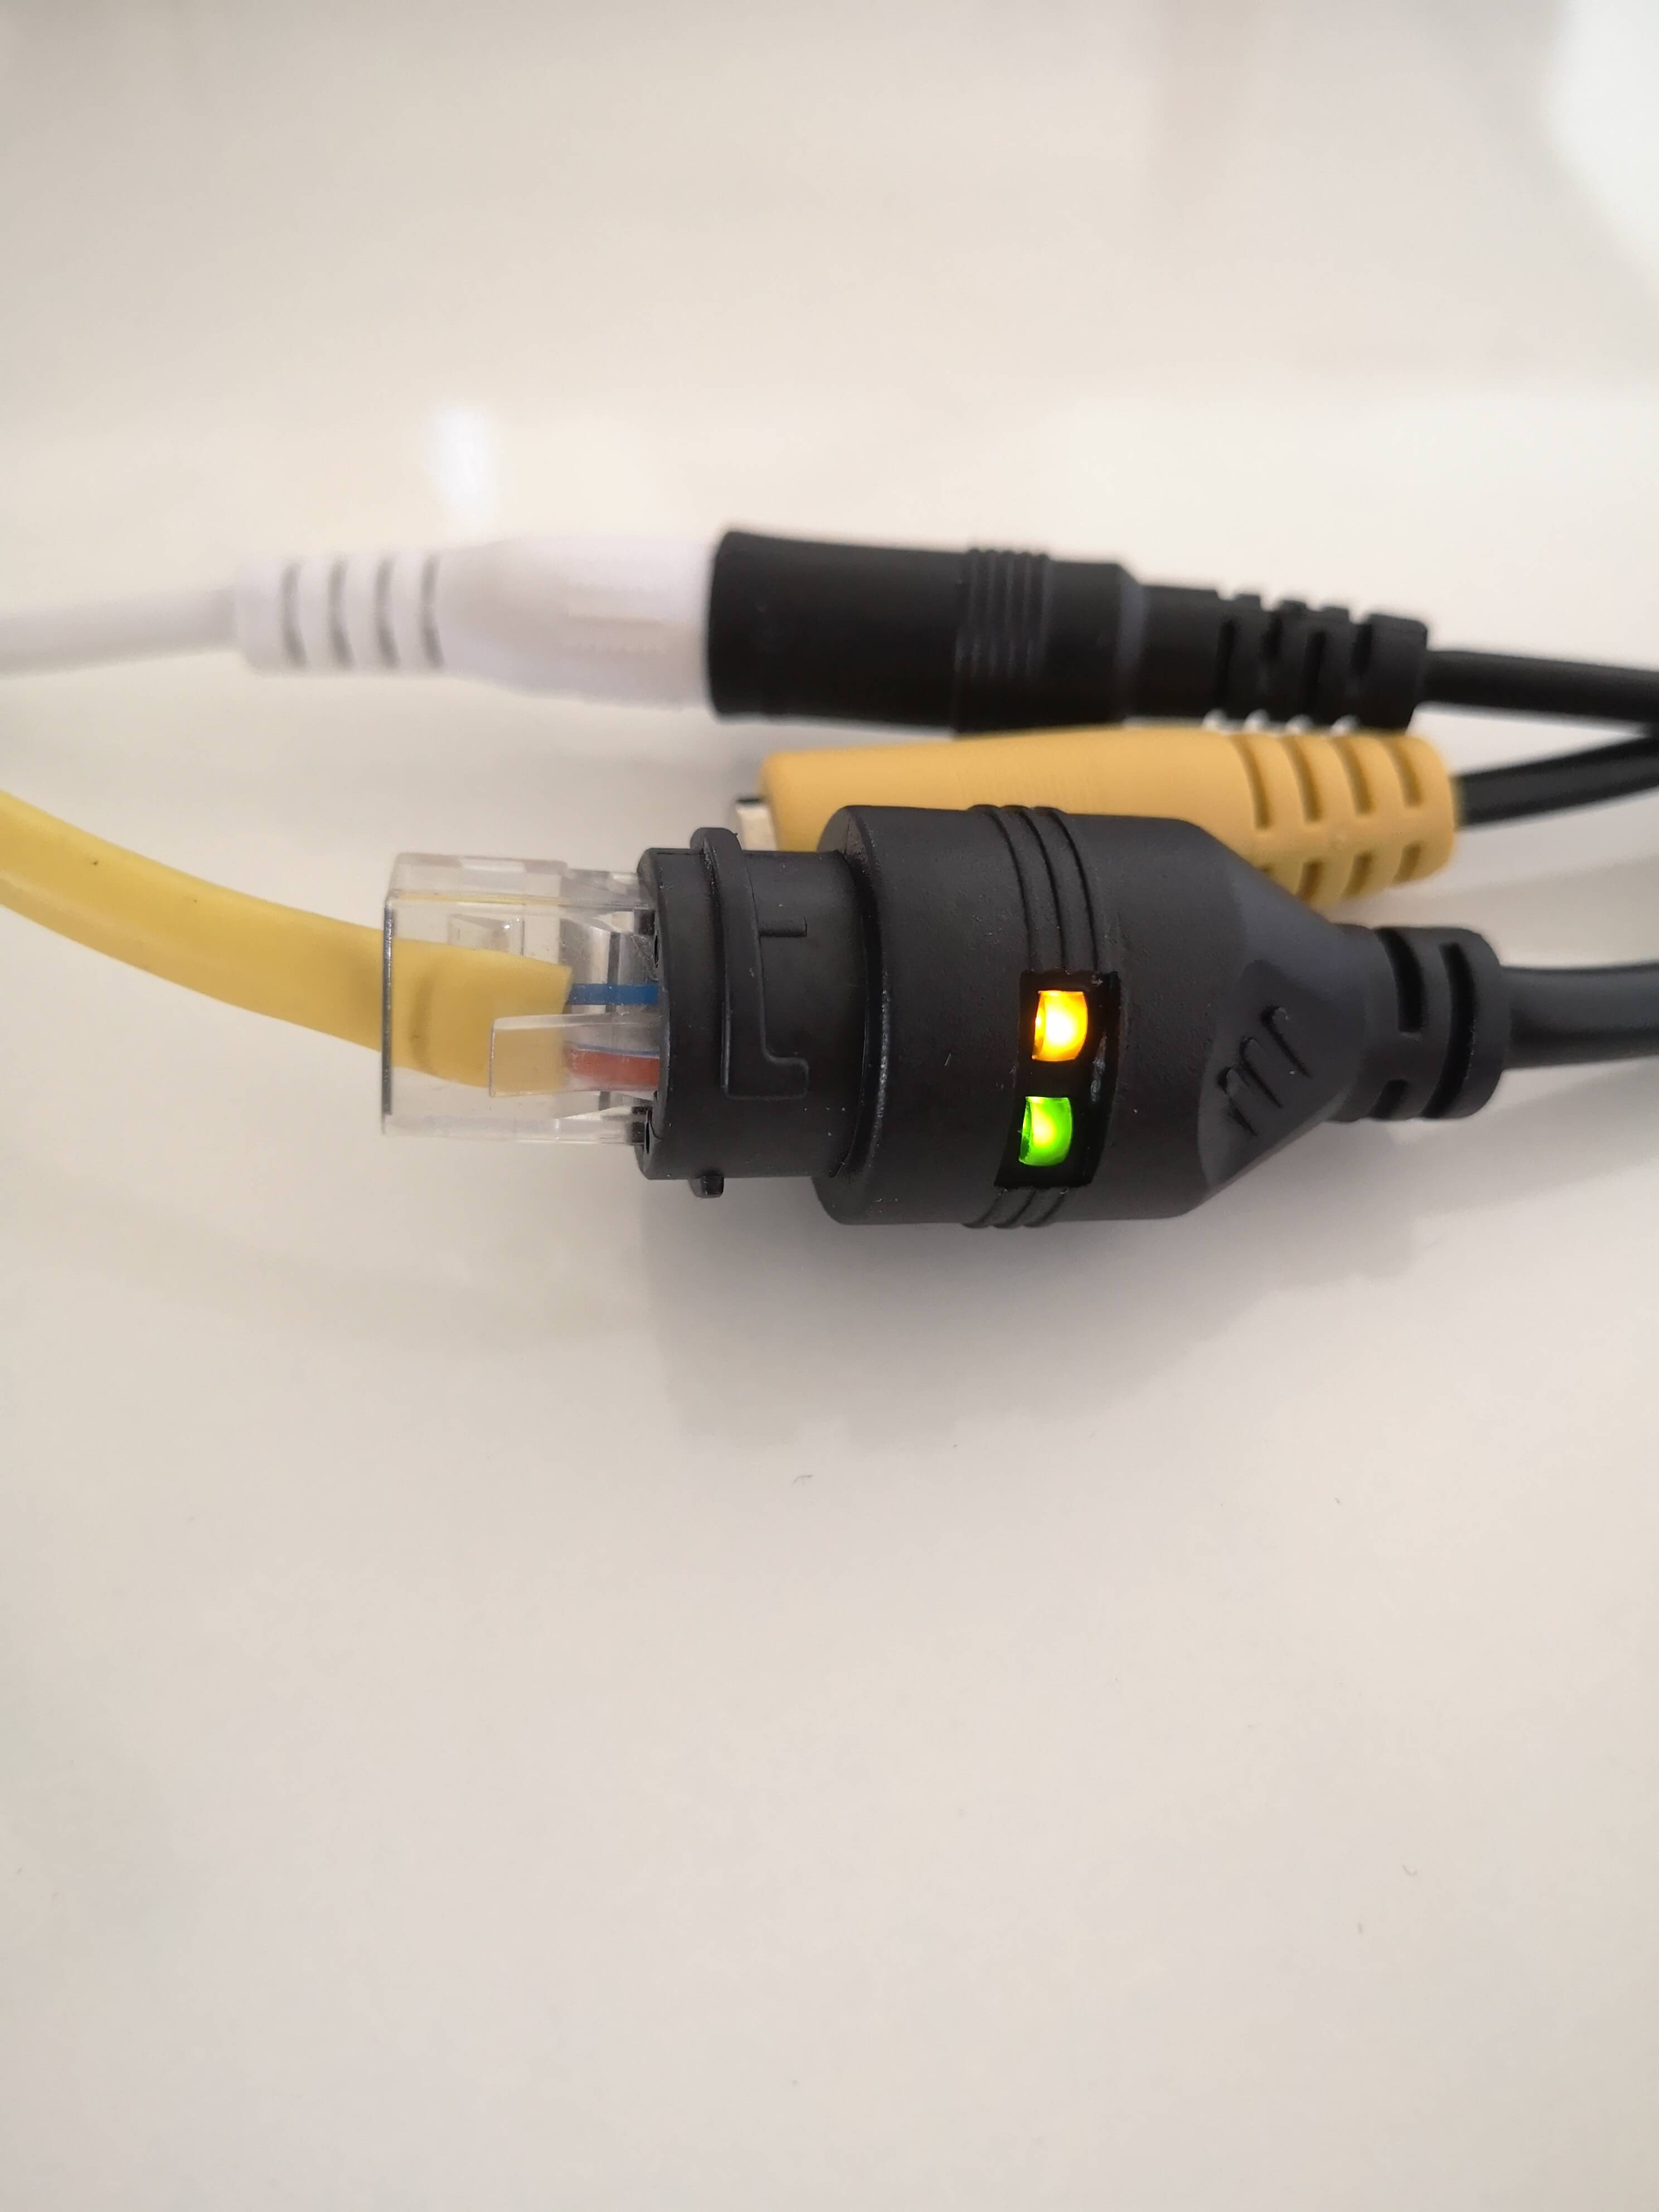
Please make sure that the green light is steady and the orange light is blinking:
In case you want to connect the Camera to the Wi-Fi with your ismartgate CAM App, please scroll down for the instructions.
To connect your camera to the Wi-Fi with your Computer please use the instructions below:
First of all, please download the program from here:
Make sure that the computer is connected to the same network as the camera.

- Please login into the VMS program once it is downloaded.
The default Login is admin and the password in blank.
- Please go to the option to add a new device.

- If the camera does not appear in the list, please use the option Search.

- If the camera is not configured yet, only connected through Ethernet. the User and password will be admin and blank (no characters).
- If the camera is already configured, then select enter the Username and password associated.
Please make sure it does not use any special characters or symbols.

- Go to the device List and right-click on the camera.
- Select the option Device Settings.

- Select the option Network in the left Menu.

- Select the option Wireless
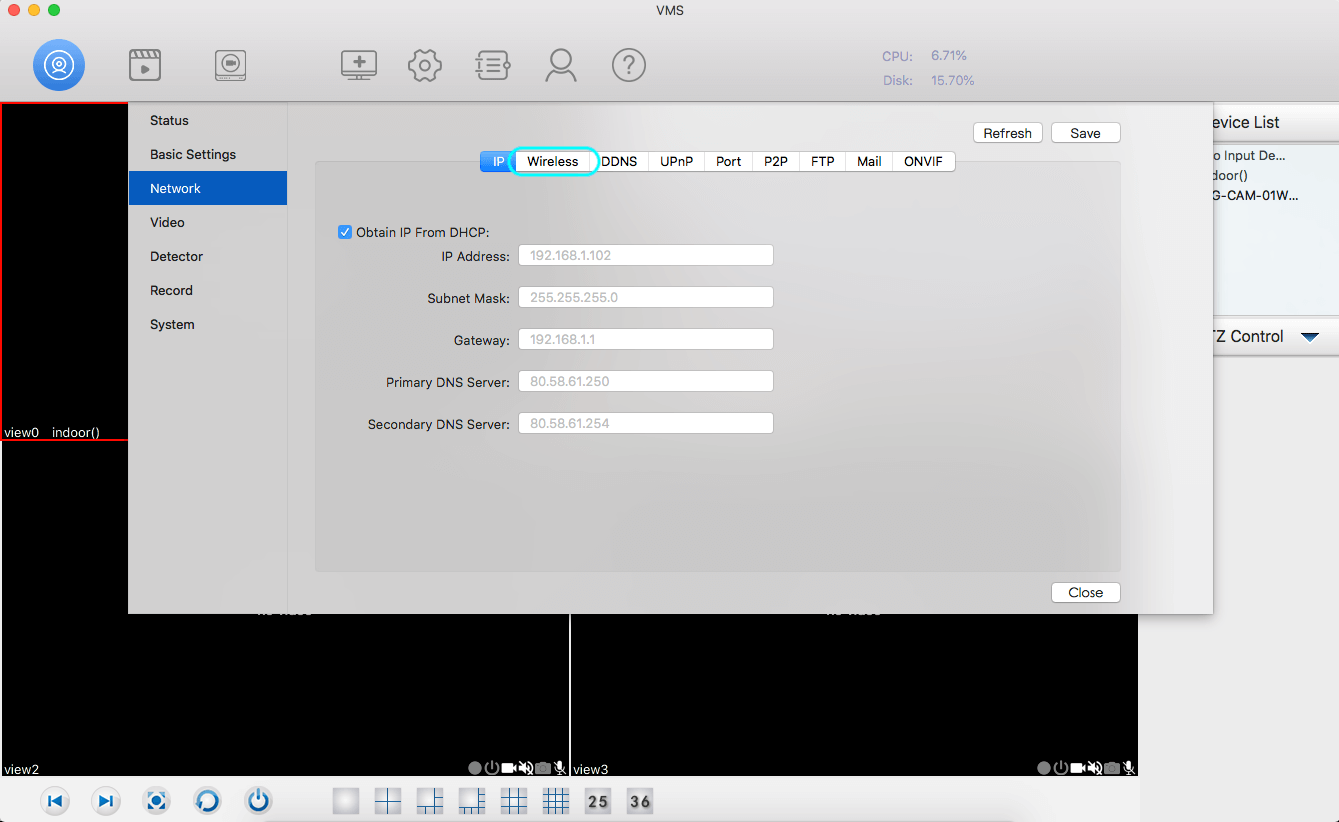
- Select the option Scan and look for the network you want to connect the camera to.

Wi-Fi configuration from the iSmartGate Camera App

Open the ismartgate Cam App and enter your username (email) and password. In case you do not have an account, please create one.
Once you have accessed the app, select the option ADD CAMERA.
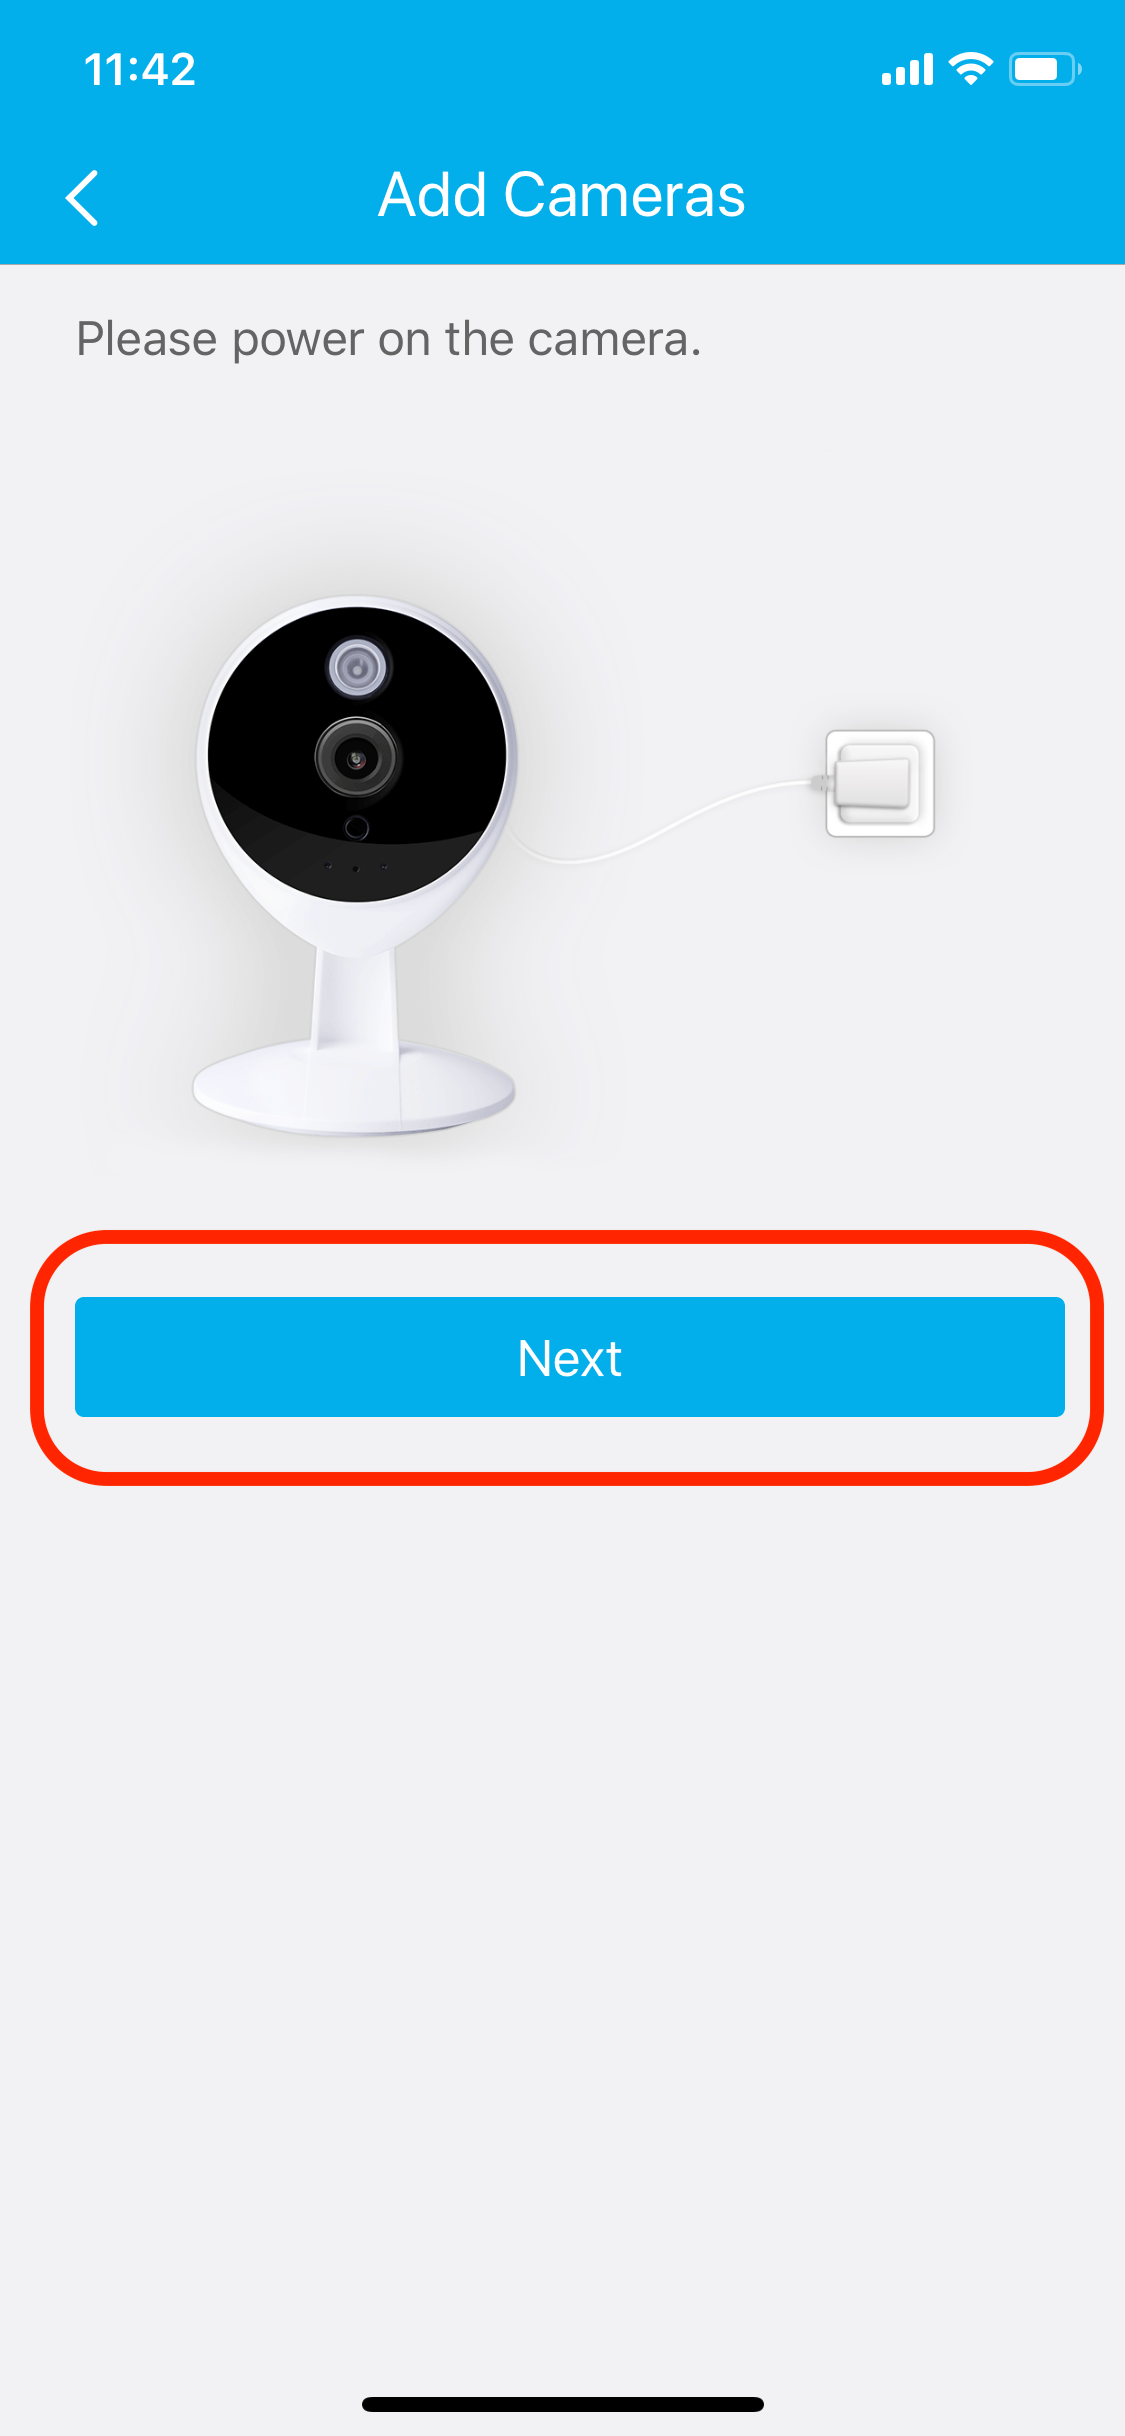
Select Next
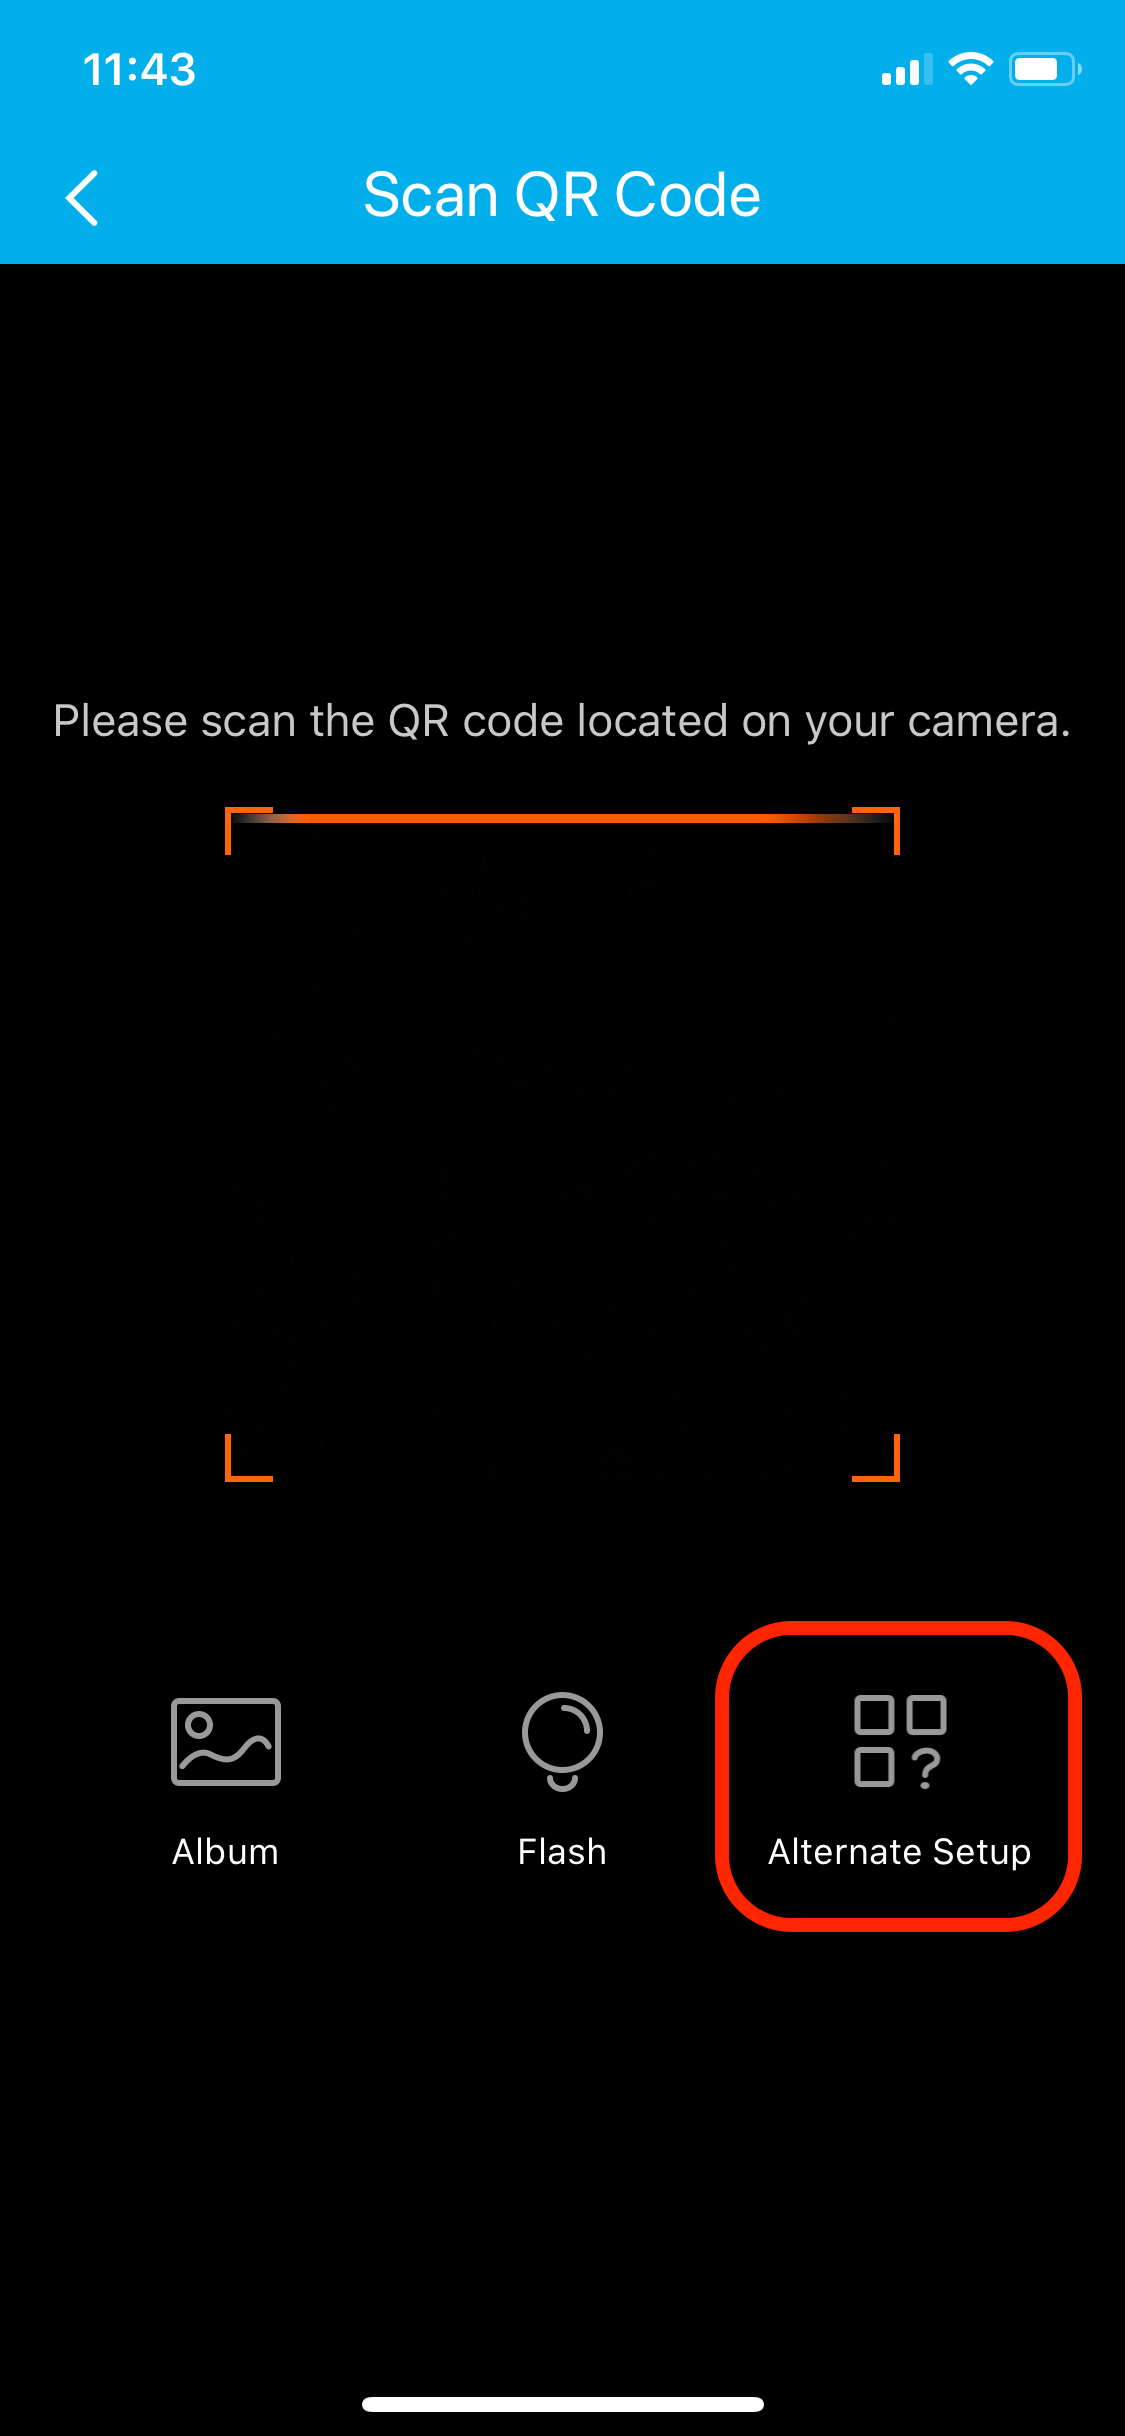
Choose the option Alternate Setup.
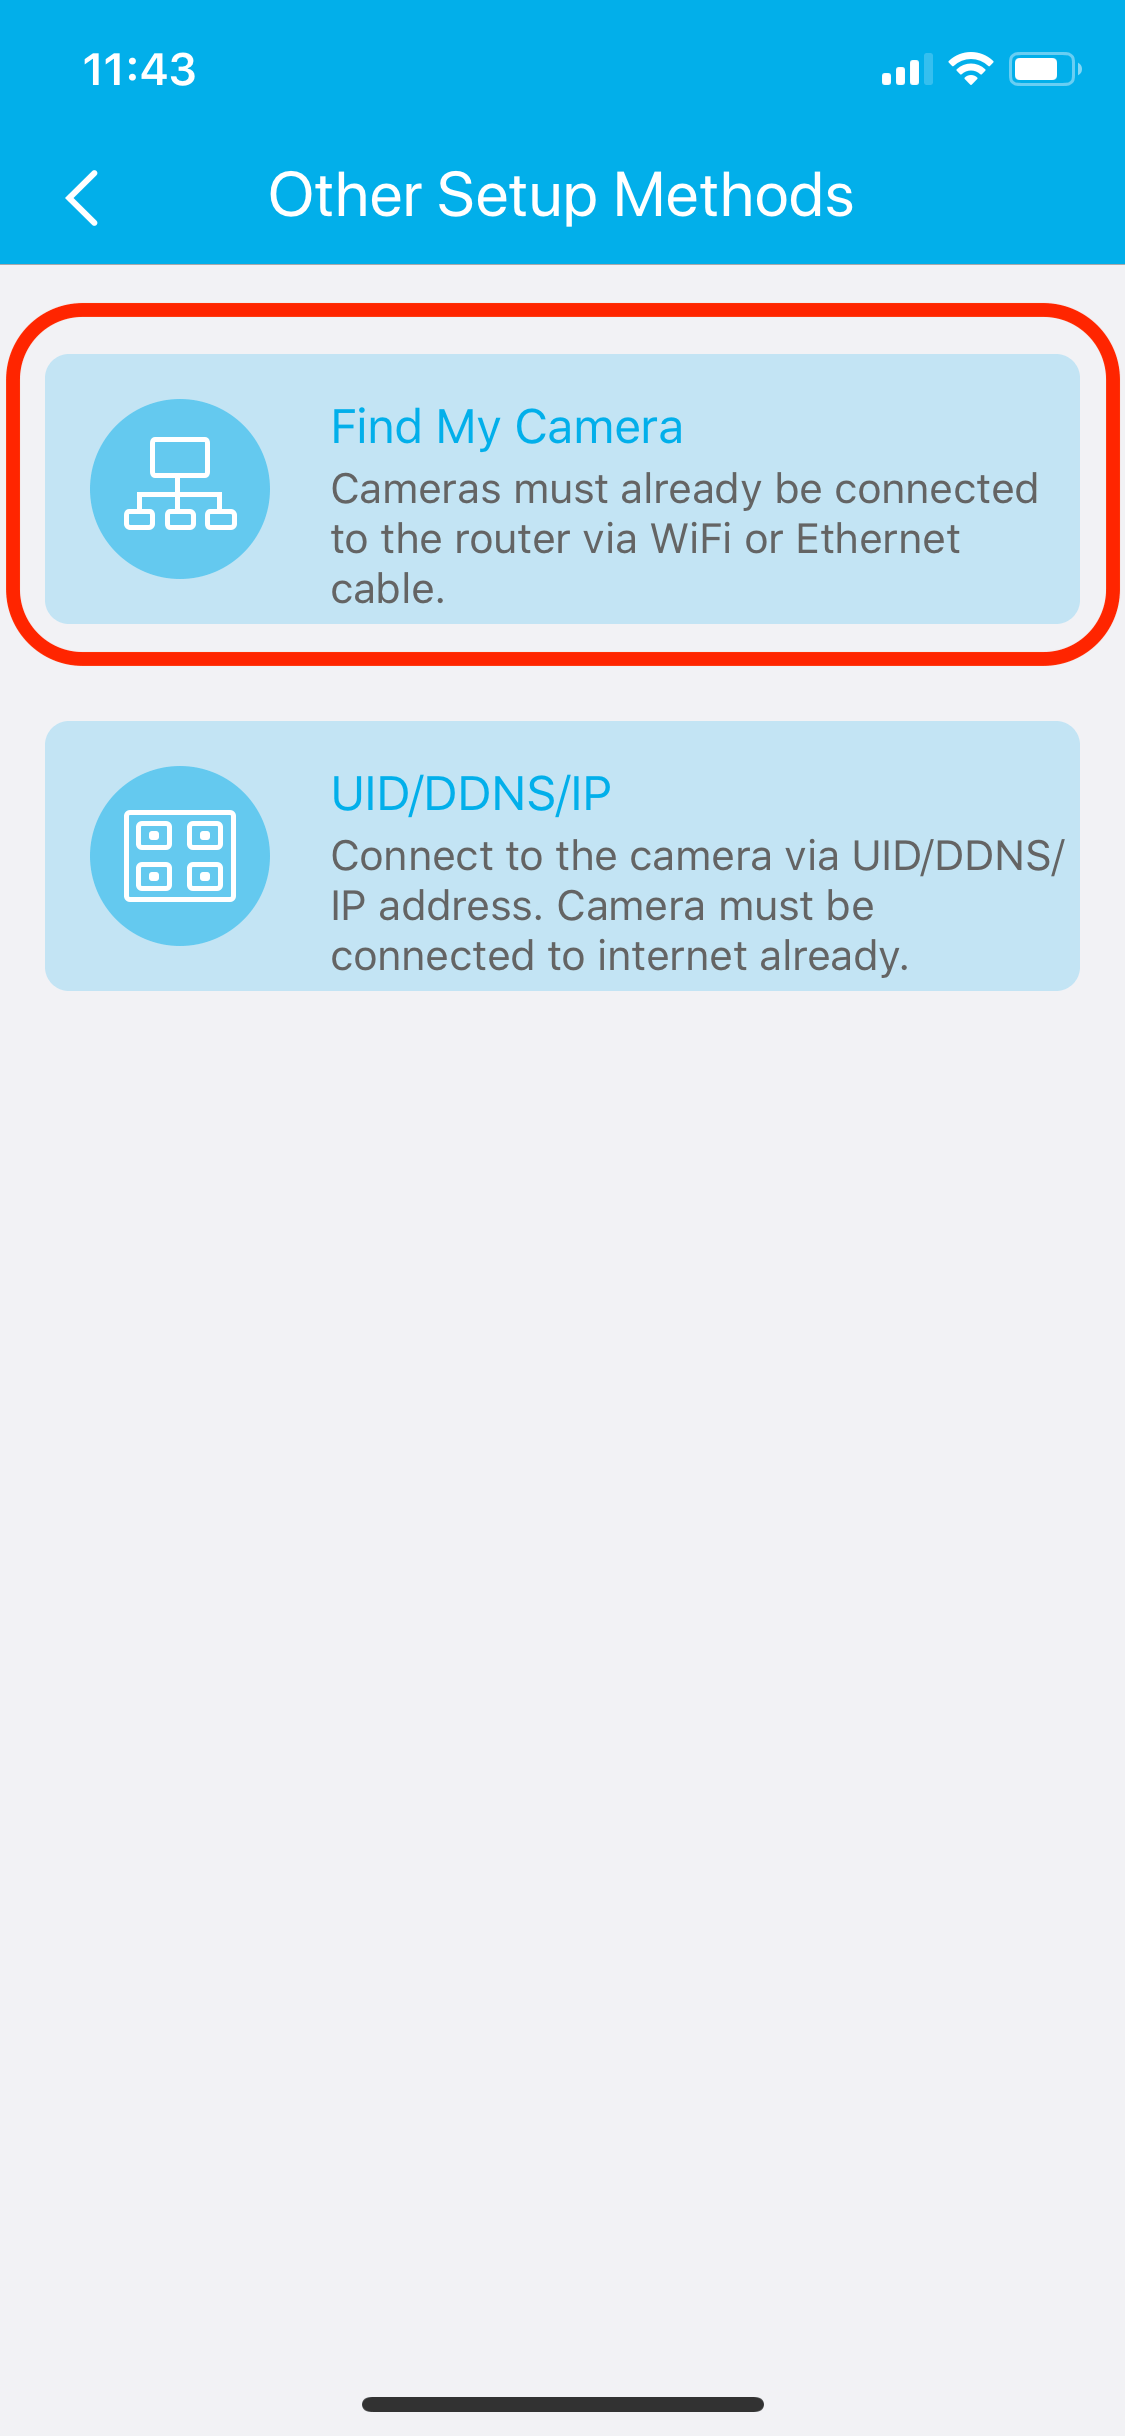
Choose the option to select the cameras already connected to your Network. Make sure your phone is connected to the SAME network as the Camera.
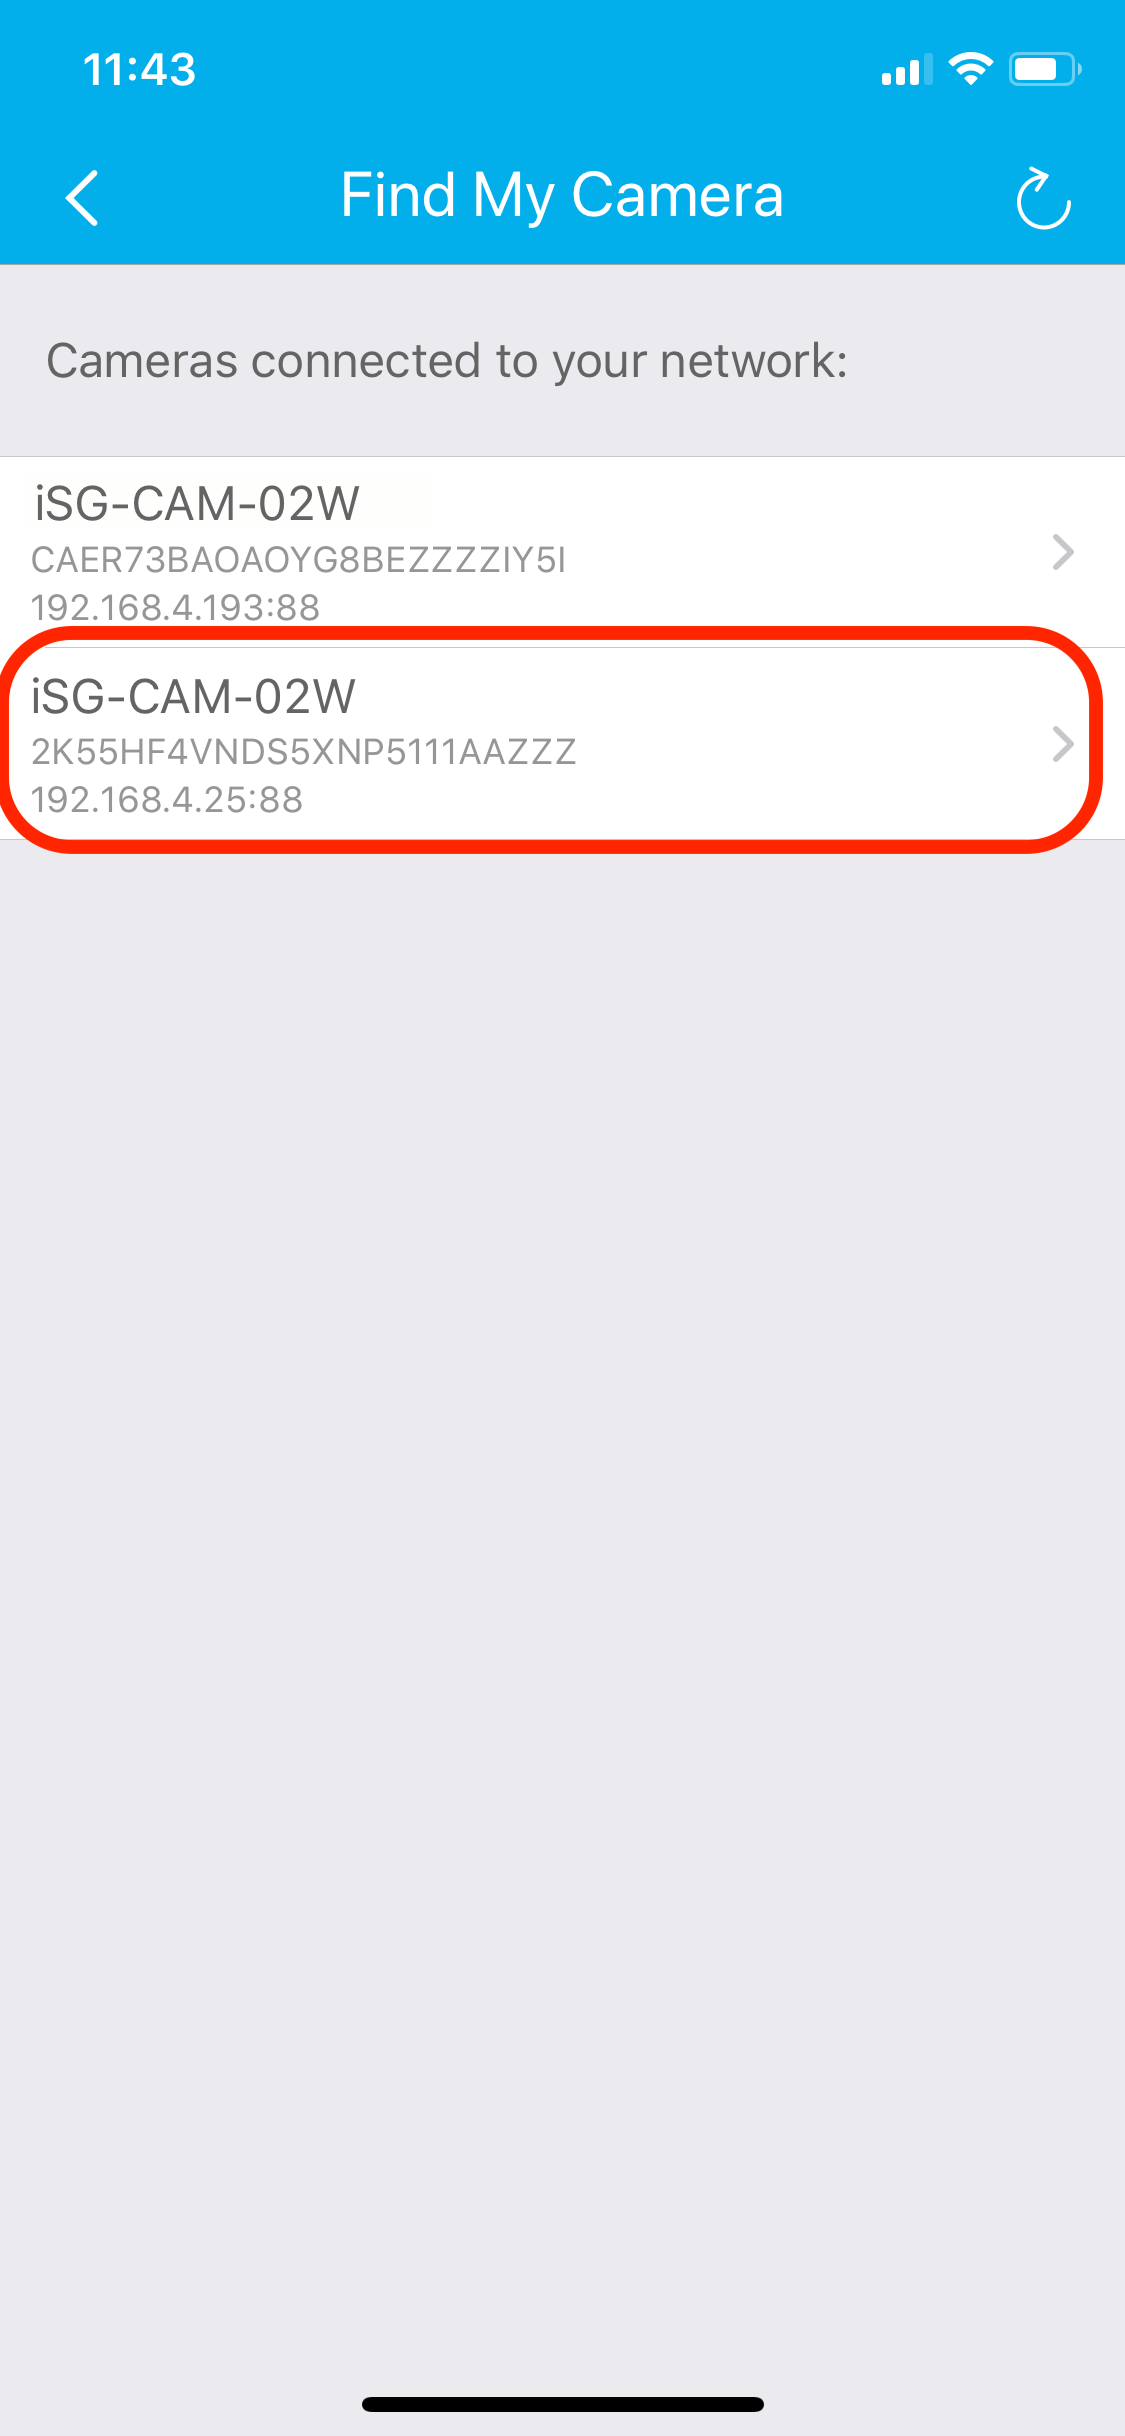
Select the camera you want to add.
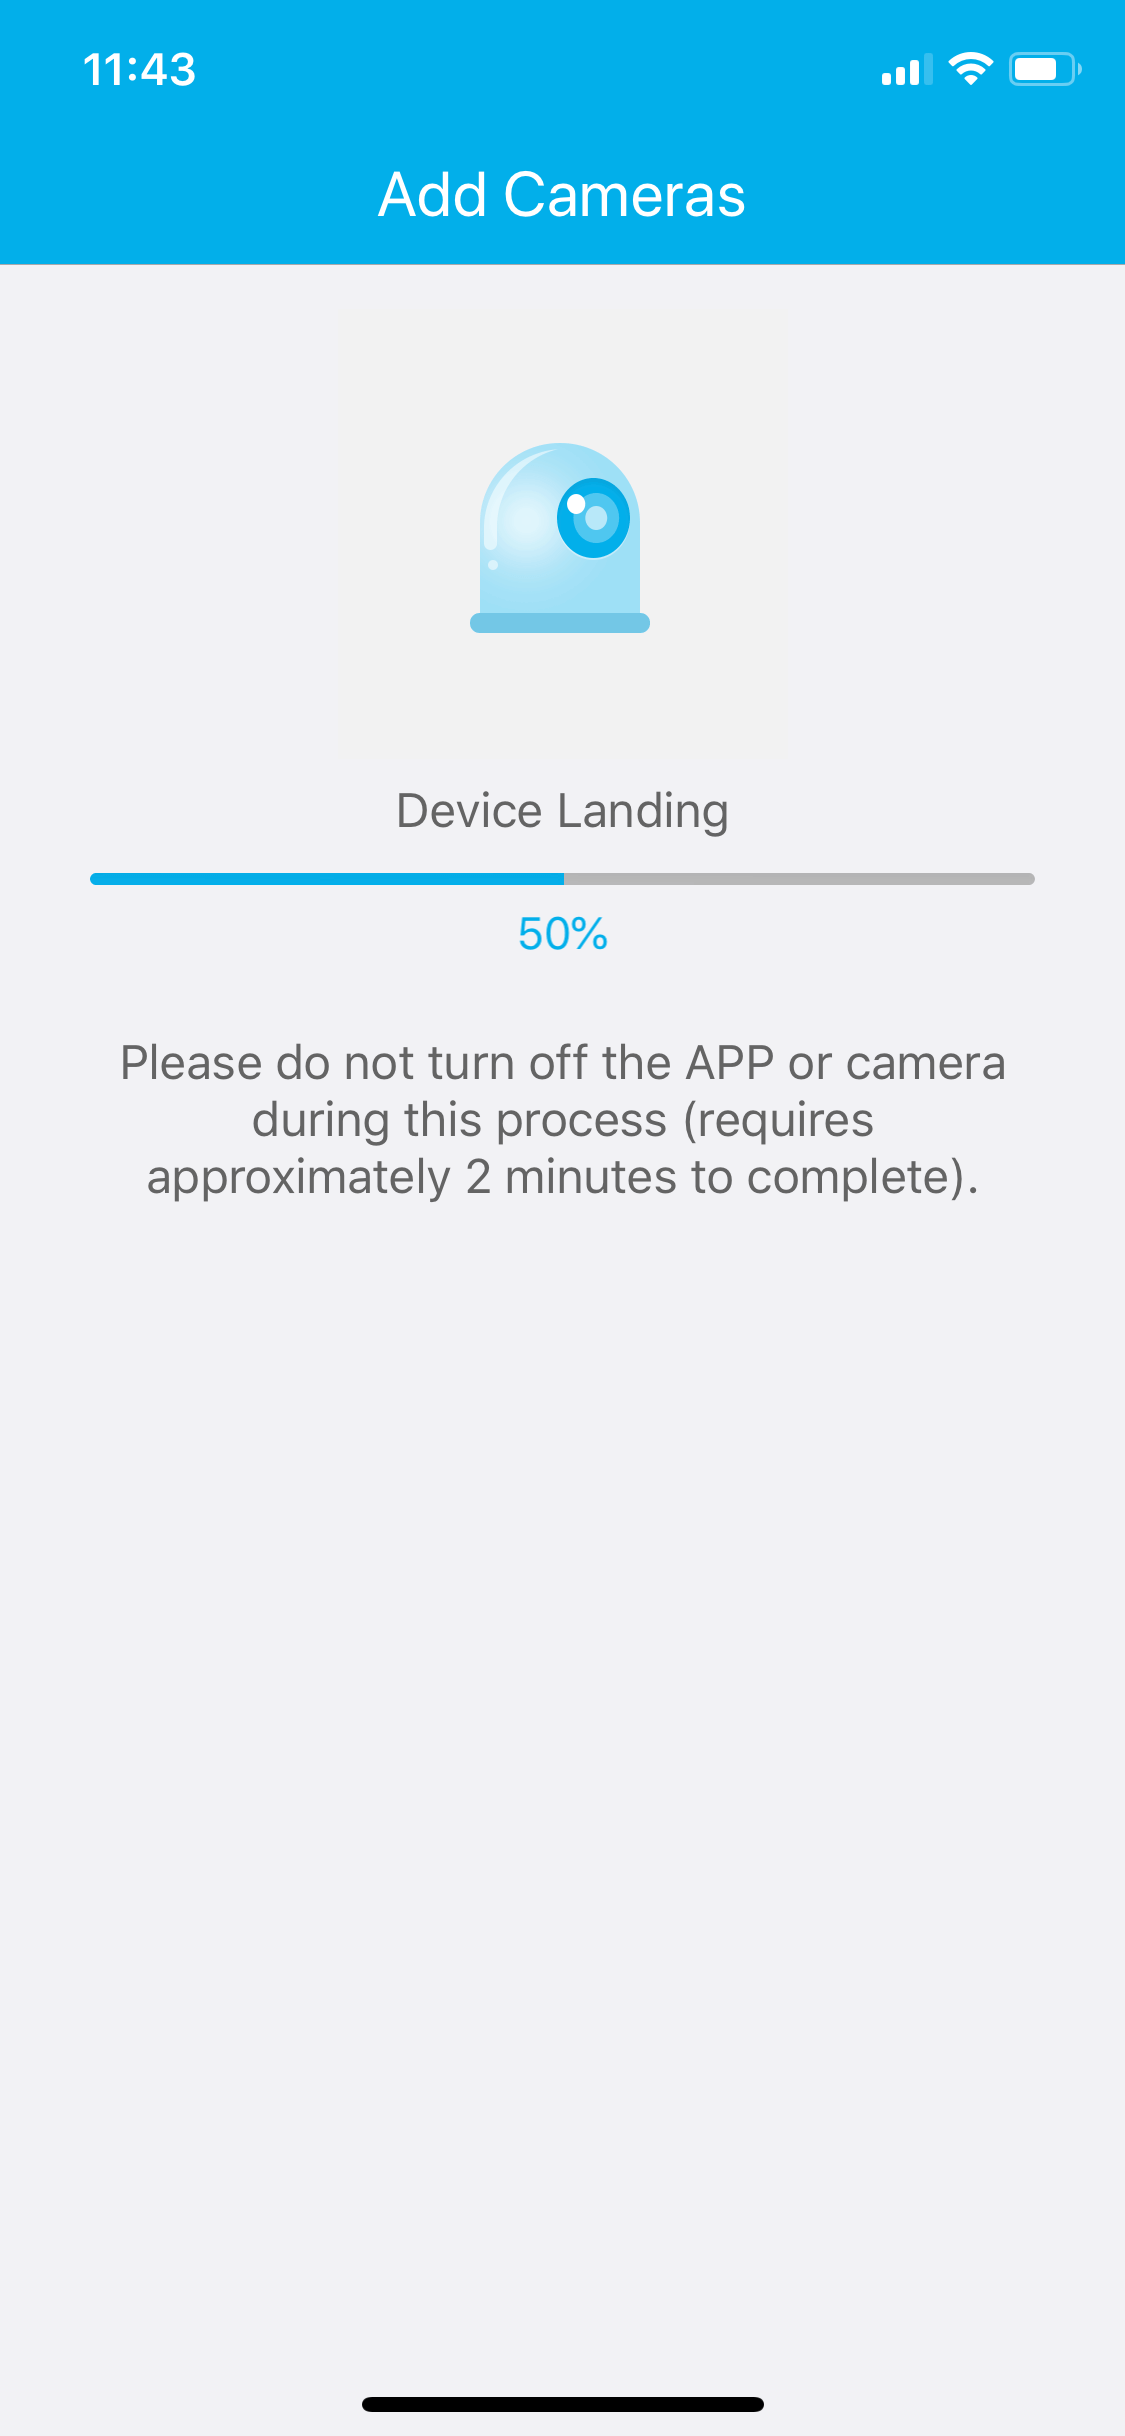
Wait until the camera is correctly added to your account.

Your camera is successfully added to your account.
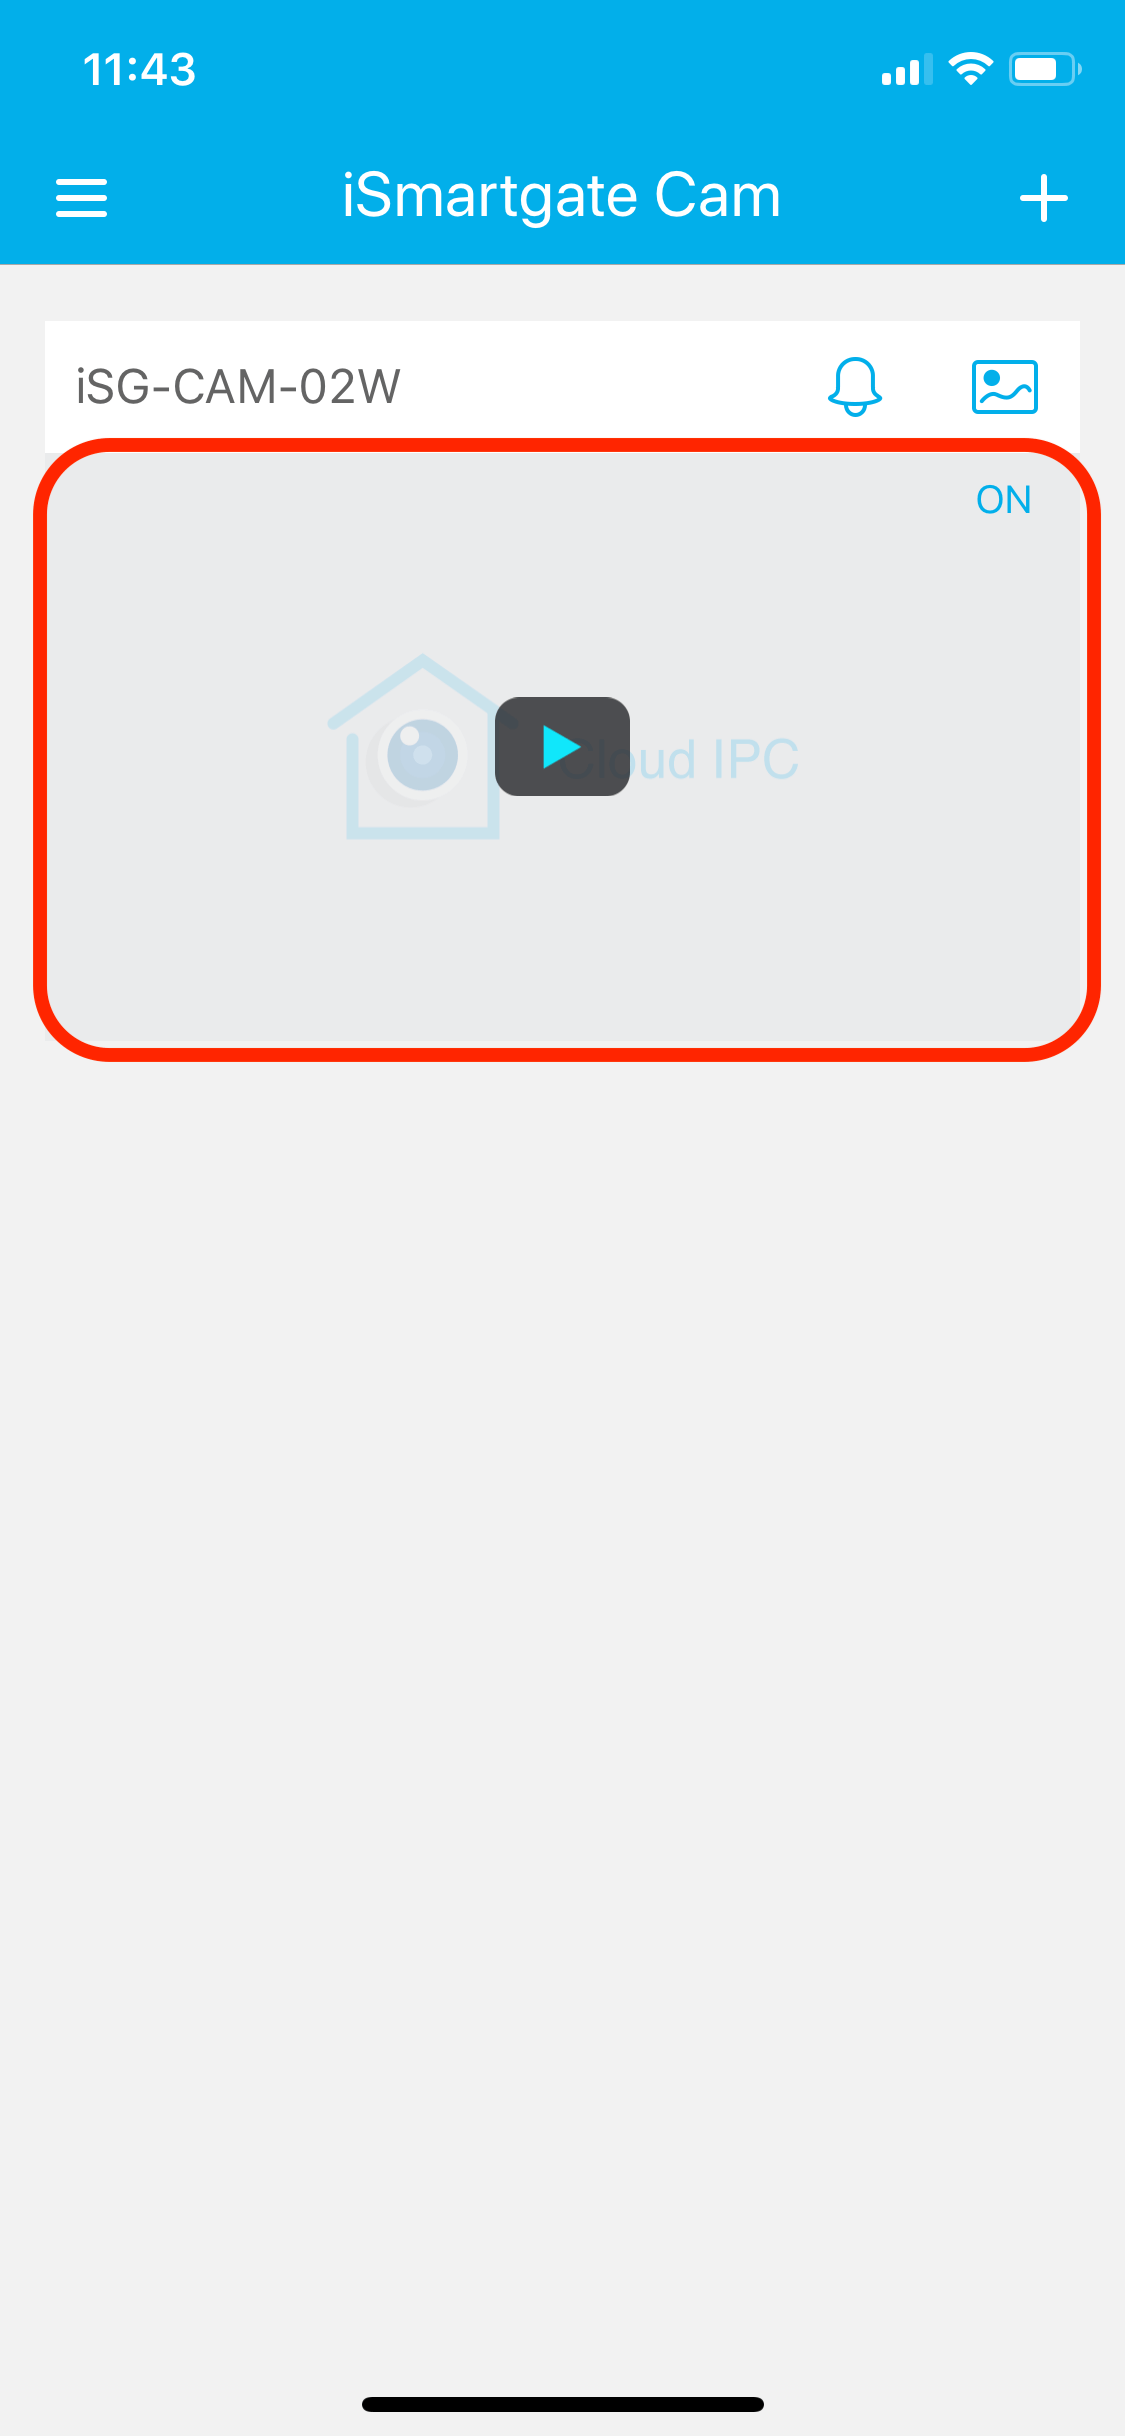
Select the camera to continue Setup.
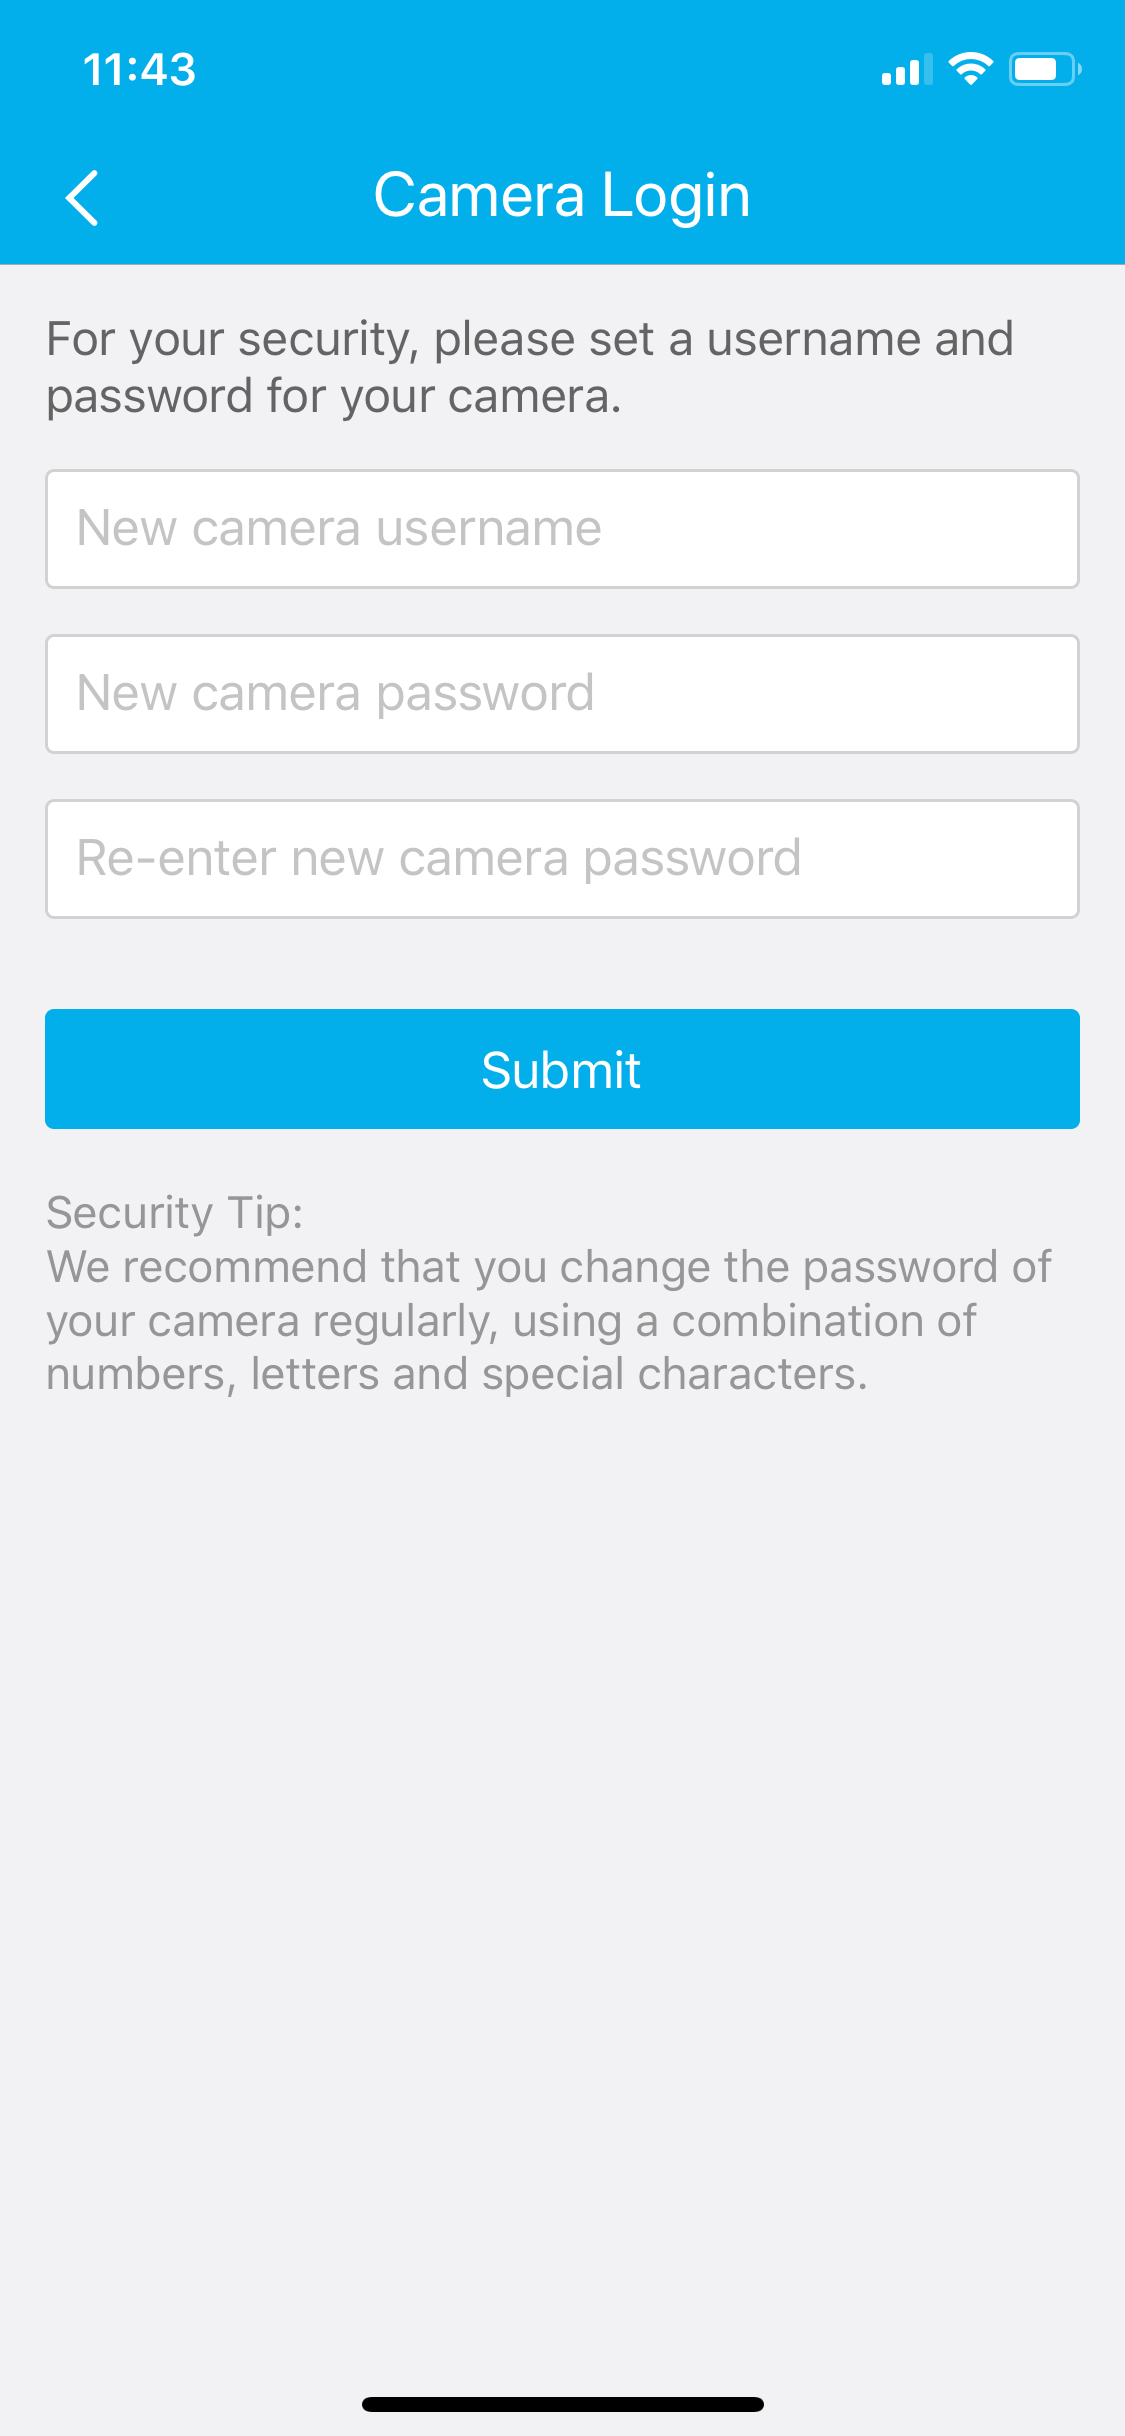
Choose a username and password for the camera.
Please do not use any special characters or symbols in case you want to add it to an ismartgate device.

Go to the Camera Settings with the icon on the top-right of the screen.
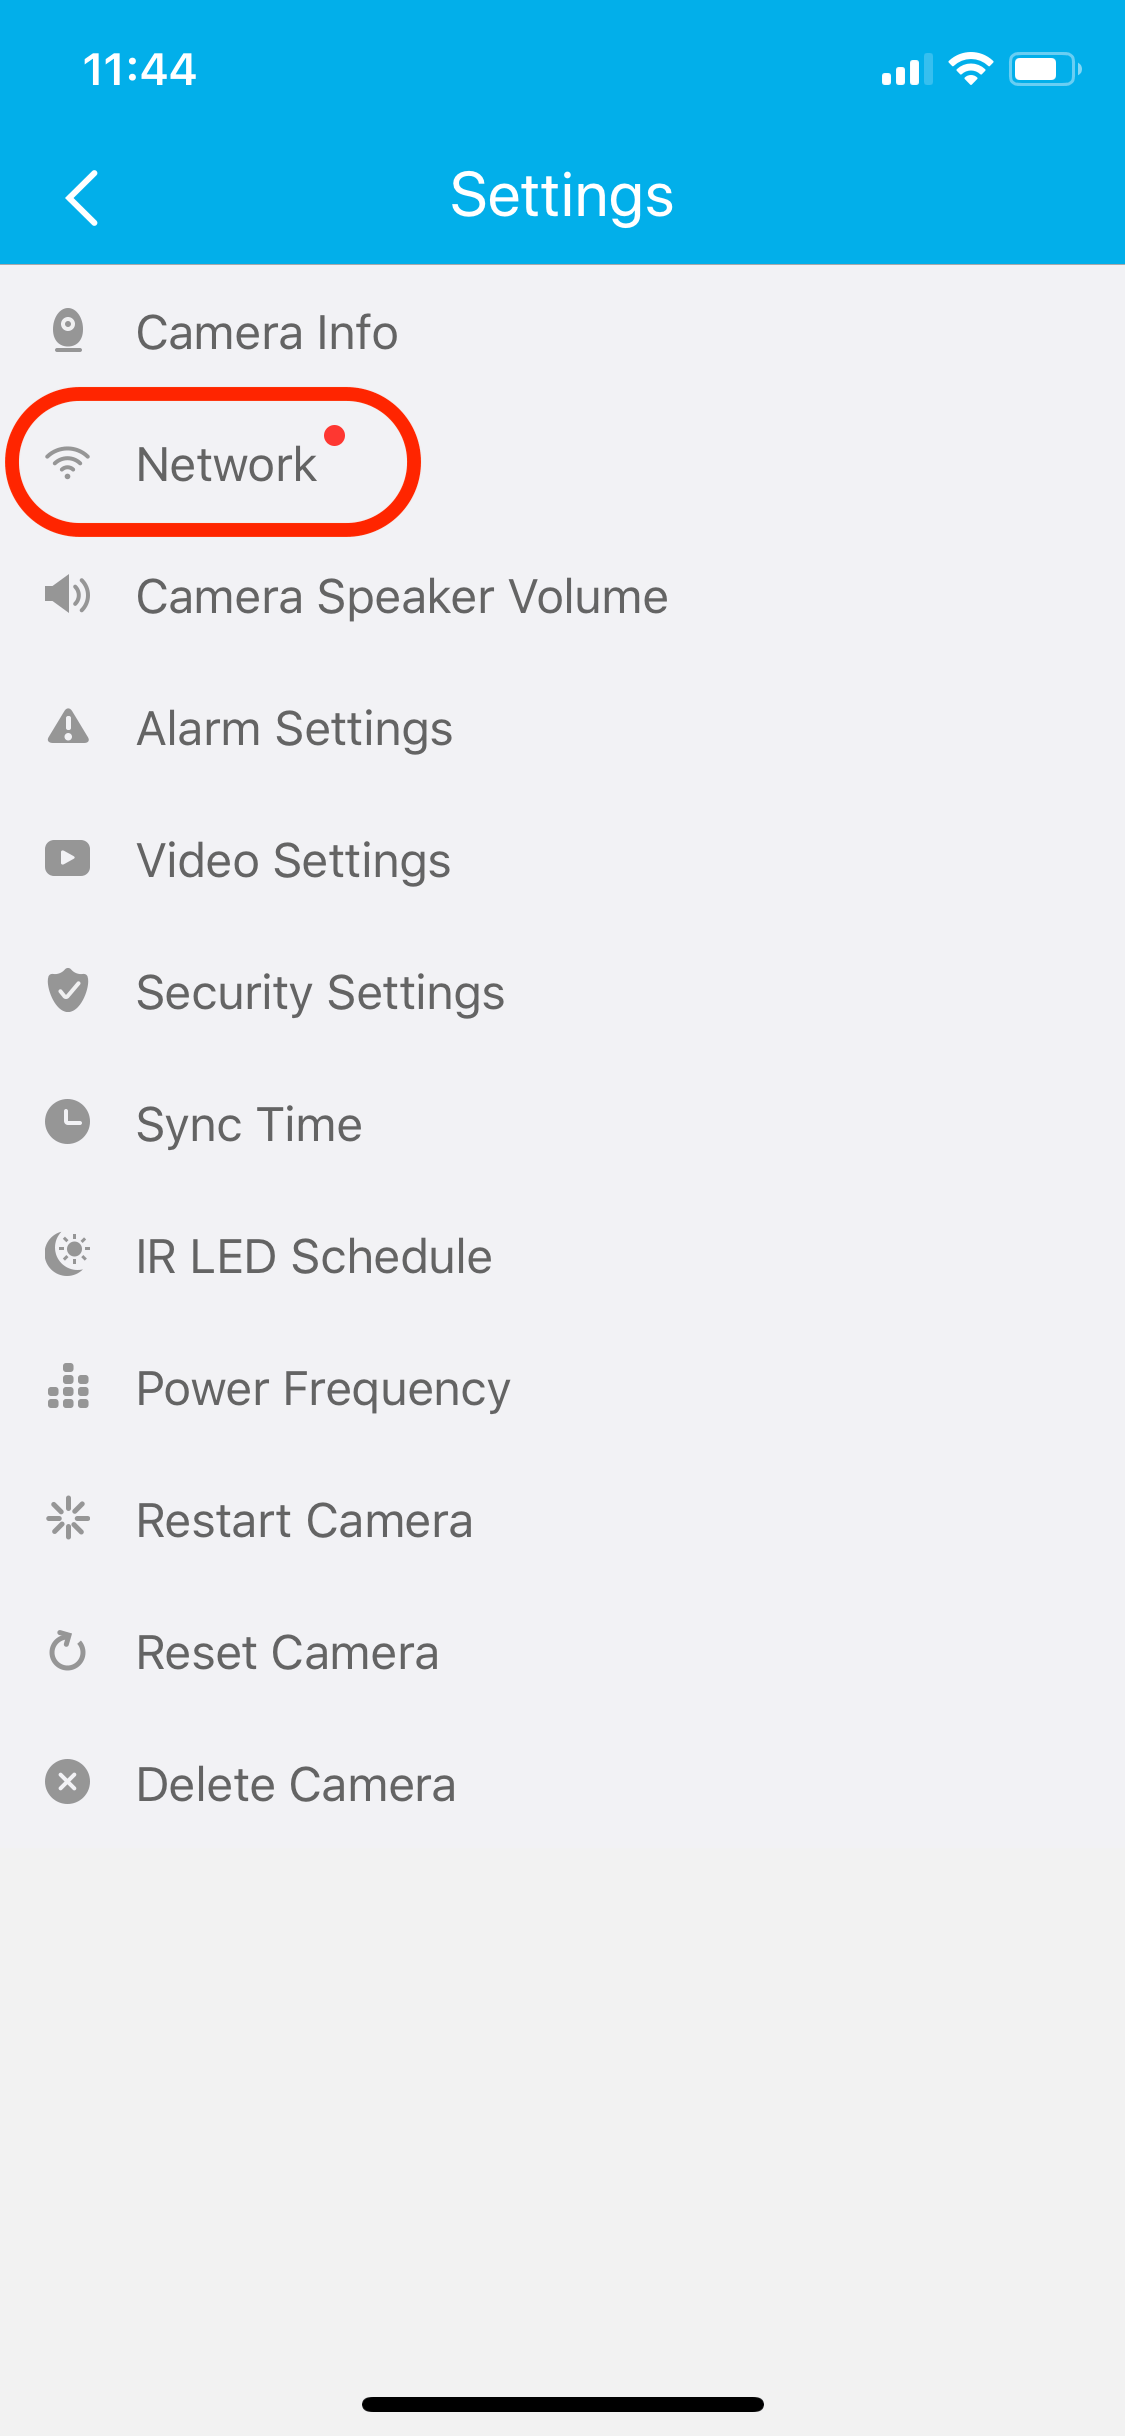
Select the option Network.
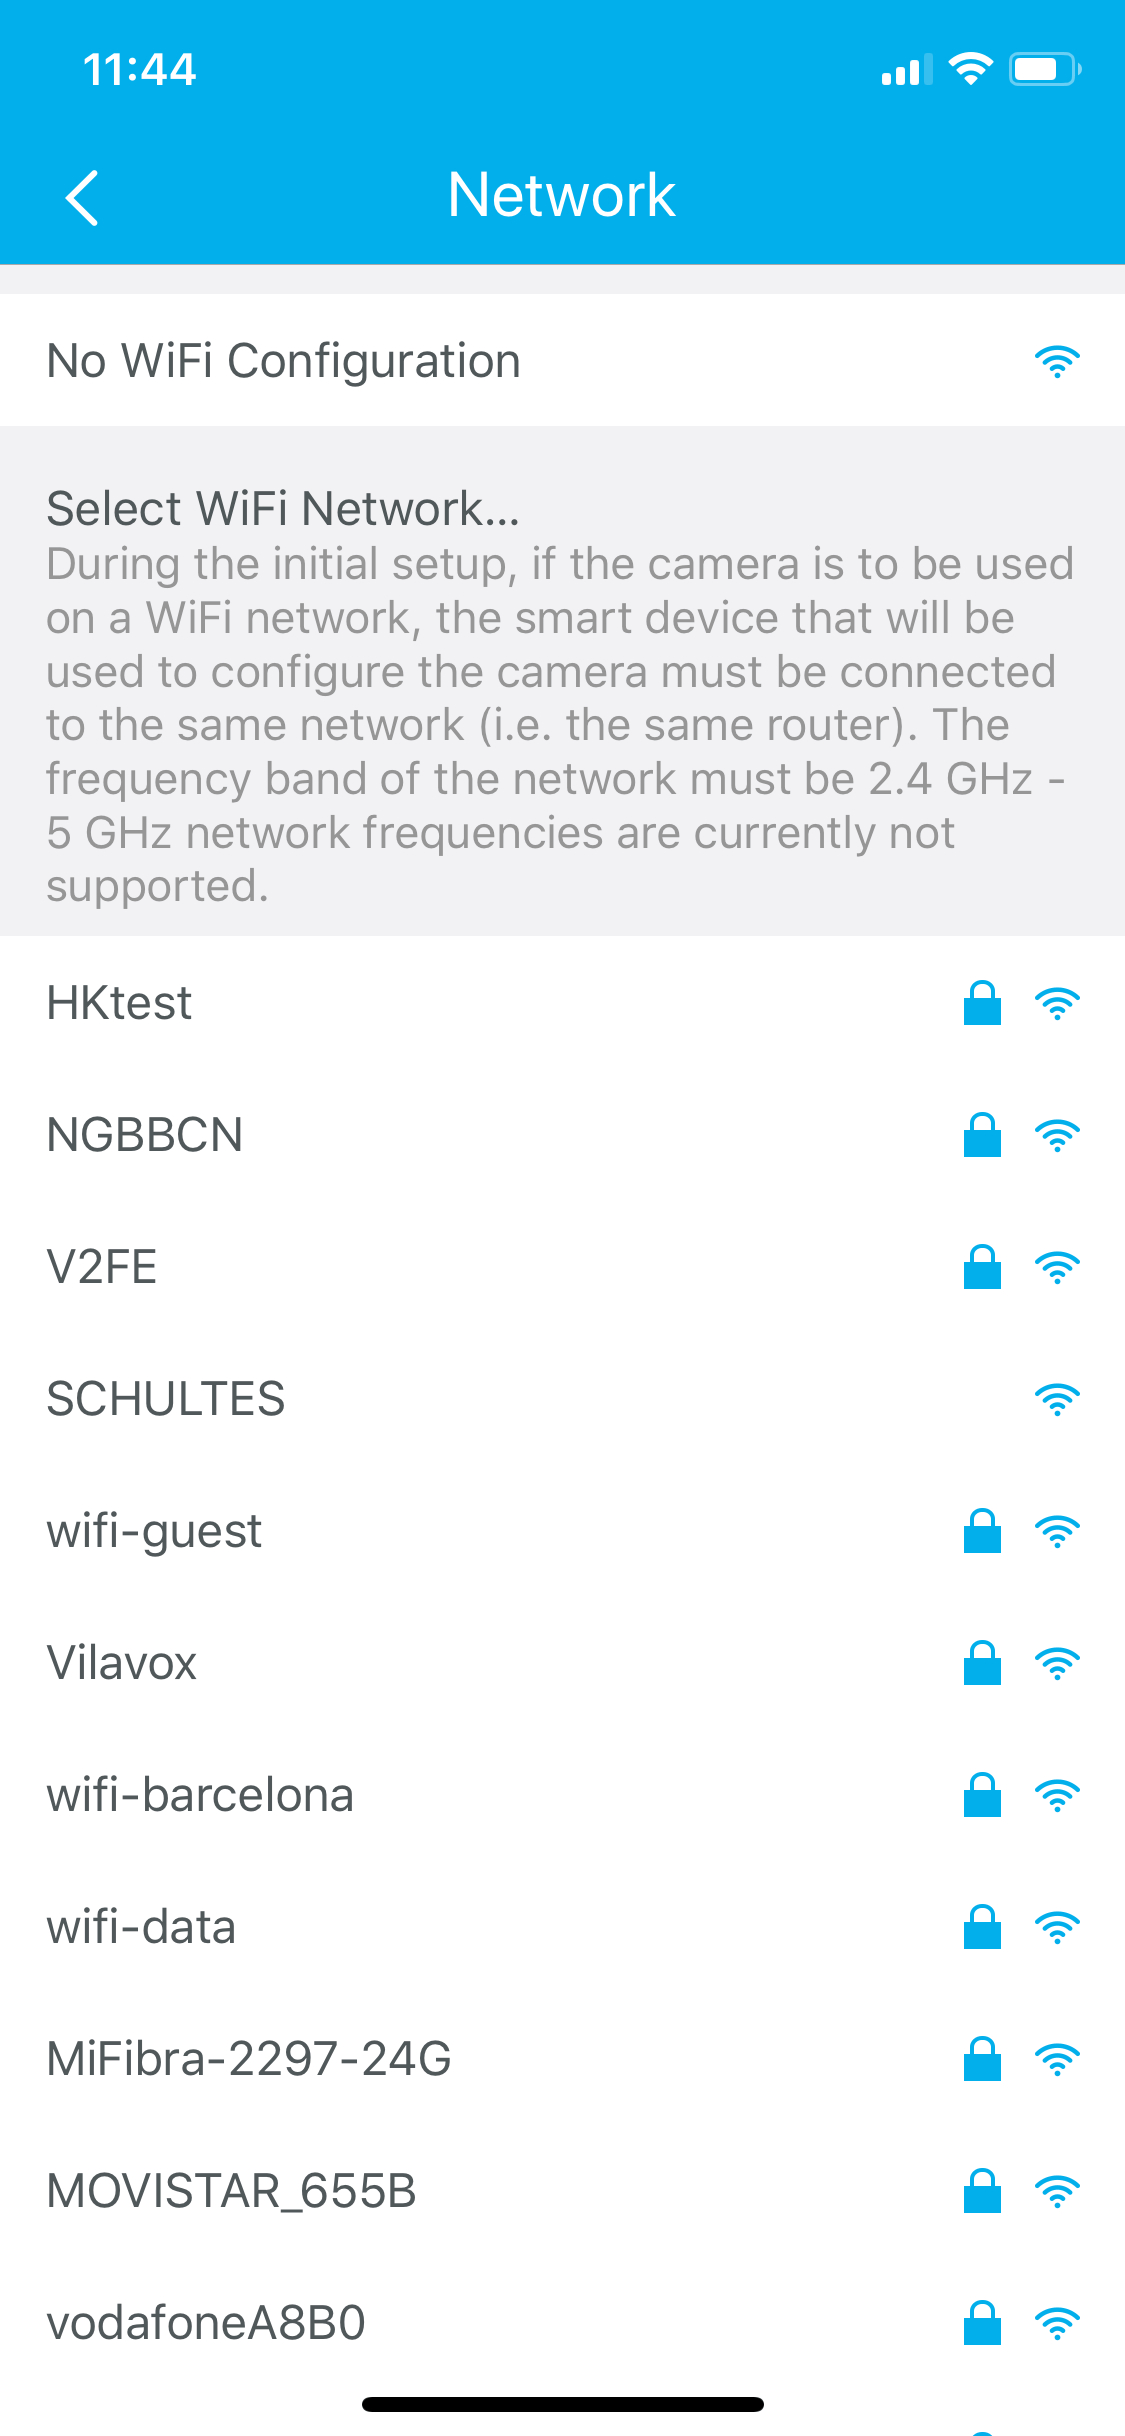
Choose the network you want to connect the camera to.
Please leave the camera still connected to Ethernet for several minutes before unplugging the cord, for the camera to connect correctly to the Wi-Fi.
Please make sure that the network in which the camera is connected is the same as the ismartgate, in case you want to see the camera feed from the ismartgate app. The instructions to connect them are here.
