If you are trying to configure your camera for the first time and it does not complete the Wi-Fi configuration (for example, gets stuck at 30{cd672472845afe905bb464734124d6dfffa3b6d11ed3eefee87f2da295b6cc60}):
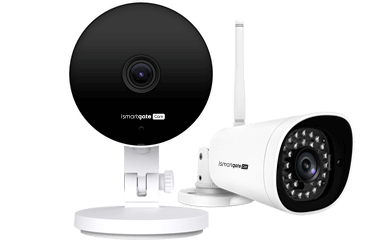
First, make sure that the camera is properly reset. If it is an Indoor camera press the Reset button at the back until the camera says: Ready for Wi-Fi configuration. In case it is an Outdoor camera press the Reset button on one of the wires connected for at least 20 seconds.
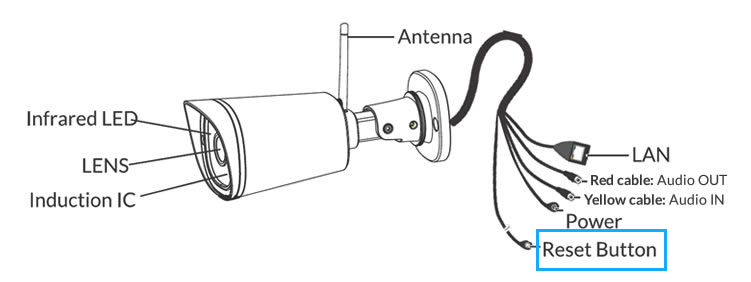
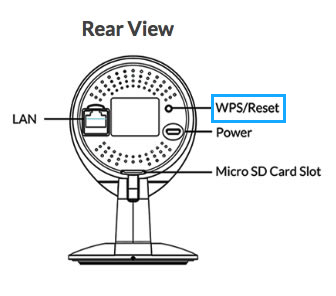
If reseting did not fix the issue the problem may be caused by a Firewall on the Wi-Fi network. Here are the instructions to workaround this problem:
Connect the Ethernet cable directly to the camera and to the router, or the extender power line adapter (Ethernet via power line). And then create a user and password for the camera to be able to access it from the computer.
Once connected to the network, please connect to the camera through your computer with one of the two options below (Please make sure that the Computer and phone are connected to the same Wi-Fi you want the camera to be connected to):
- You can connect to the Camera with your computer by executing the Search Tools software provided in the CD that comes with the camera, or from the instructions here, and select your camera by double clicking in it's IP (identifier unique number for the camera). That will open a window on your browser
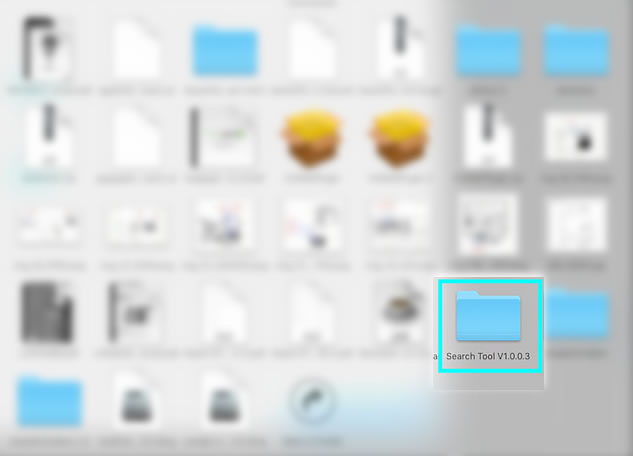
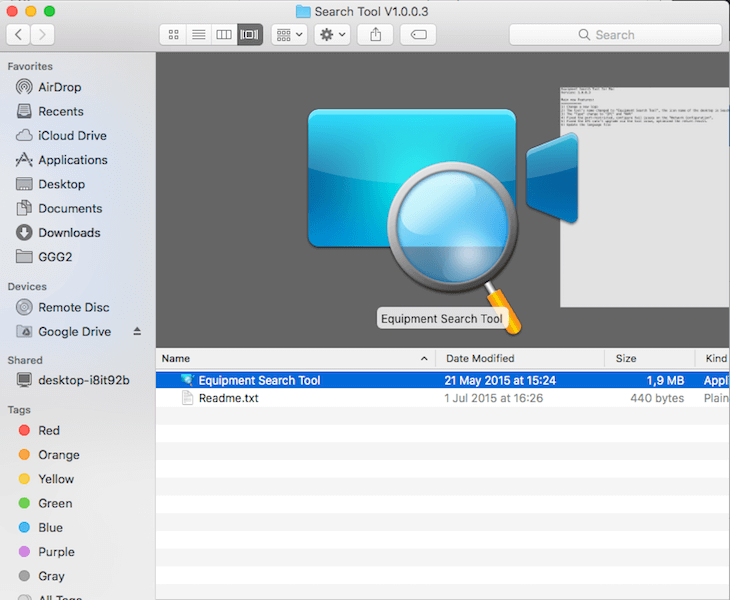
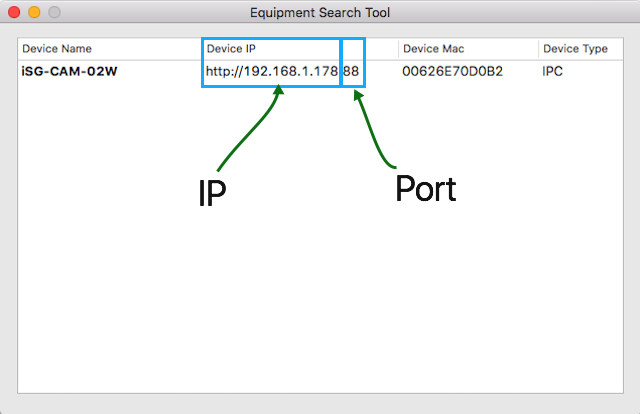
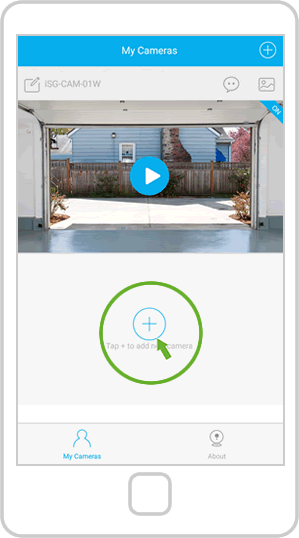
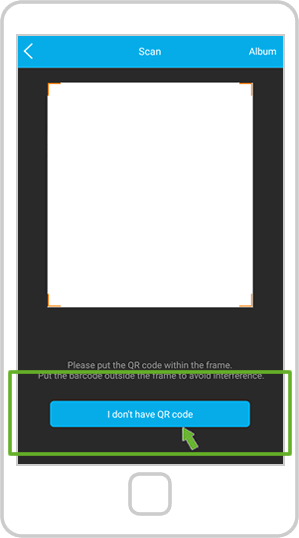
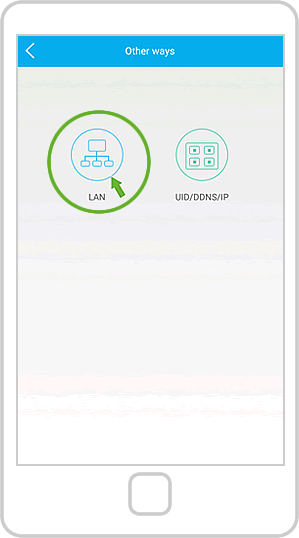
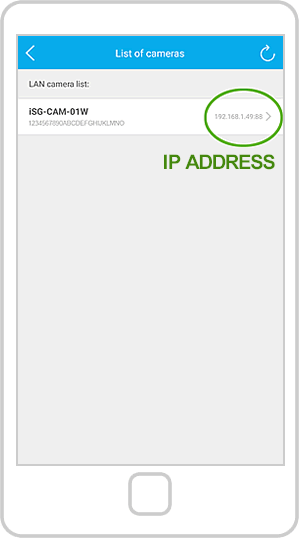
- You can also access to the IP of the camera with your iSmartGate Cam App: Add a camera --> I don't have a QR code --> LAN --> There will be a list of the cameras connected, and its IP and port. This IP and port, just as it is shown there is what you have to introduce in your computer browser
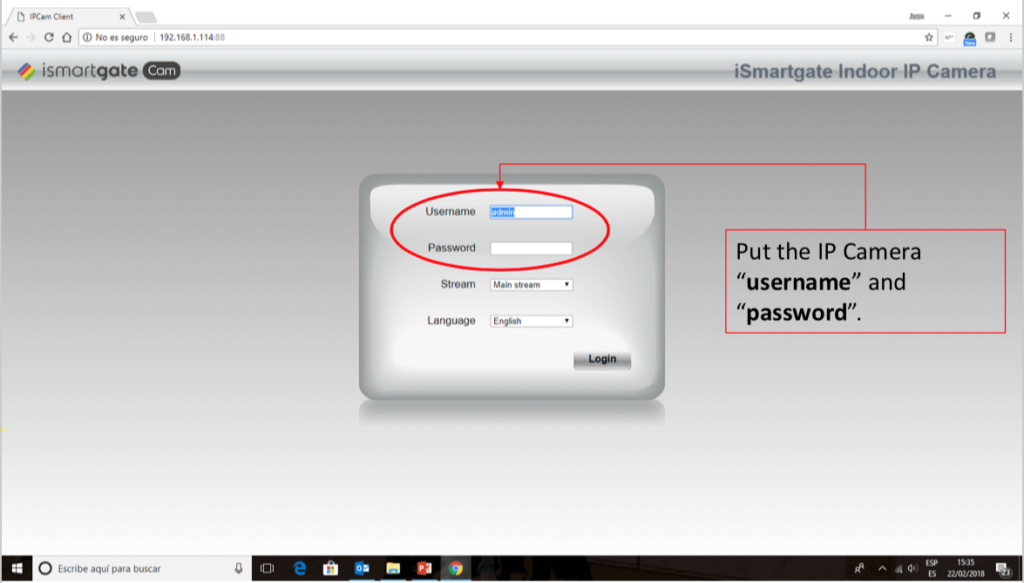
From the browser page please login with your user and password set in the configuration of the camera:
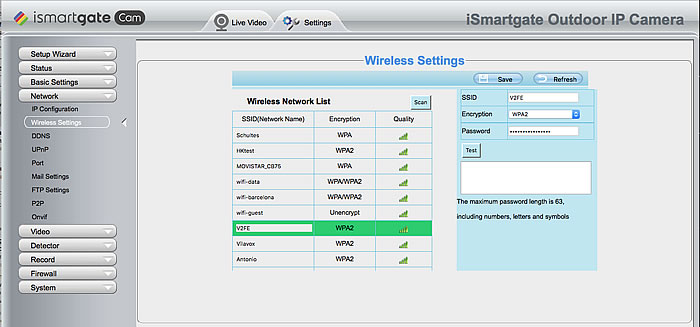
Select the option Network --> Wireless Settings and configure your Wi-Fi:
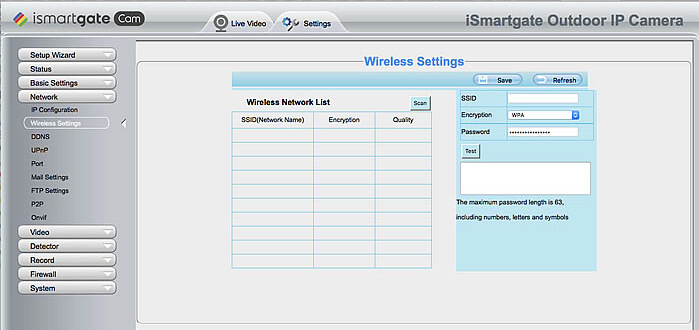
Please make sure it is a 2.4GHz network.
