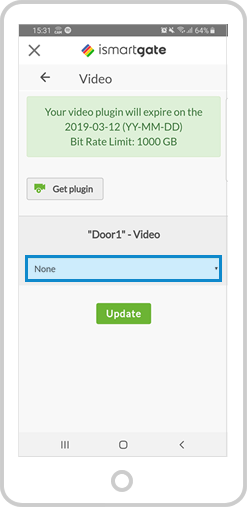
5. In the Video menu, choose the “Door” that you want to video monitor.
NB: If you have no video plugin, do not forget to get one.
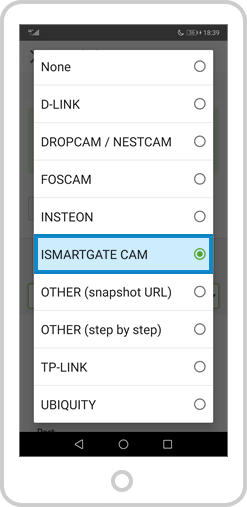
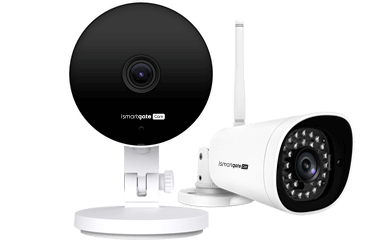
6. Choose the brand of your IP Camera: "ISMARTGATE CAM"
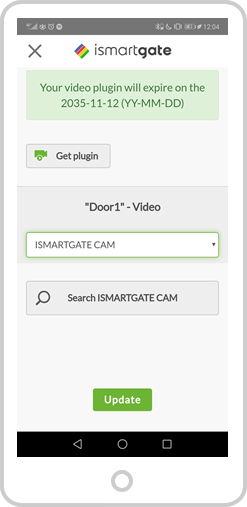
7. Select the option SEARCH ISMARTGATE CAM
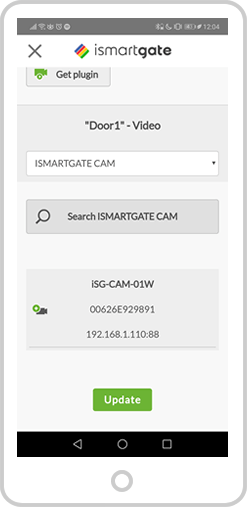
8. The app will search within the same exact network the ismartgate is connected to, please make sure the camera is connected to that exact same network (2.4GHz). Select your camera.
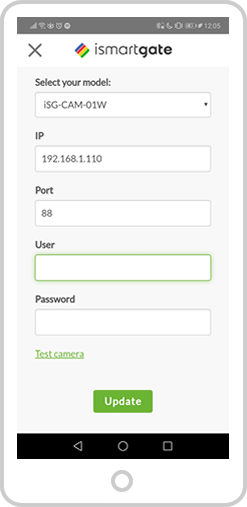
9. The app will automatically fill in the information from the camera, you will only need to introduce the username and password. From the CAMERA, not the ismartgate.
