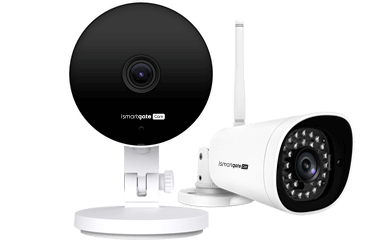
To configure your camera, please follow the instructions below:
Please note that you need to have the video plugin activated to be able to add a camera, the instructions here.

- Open your ismartgate App.
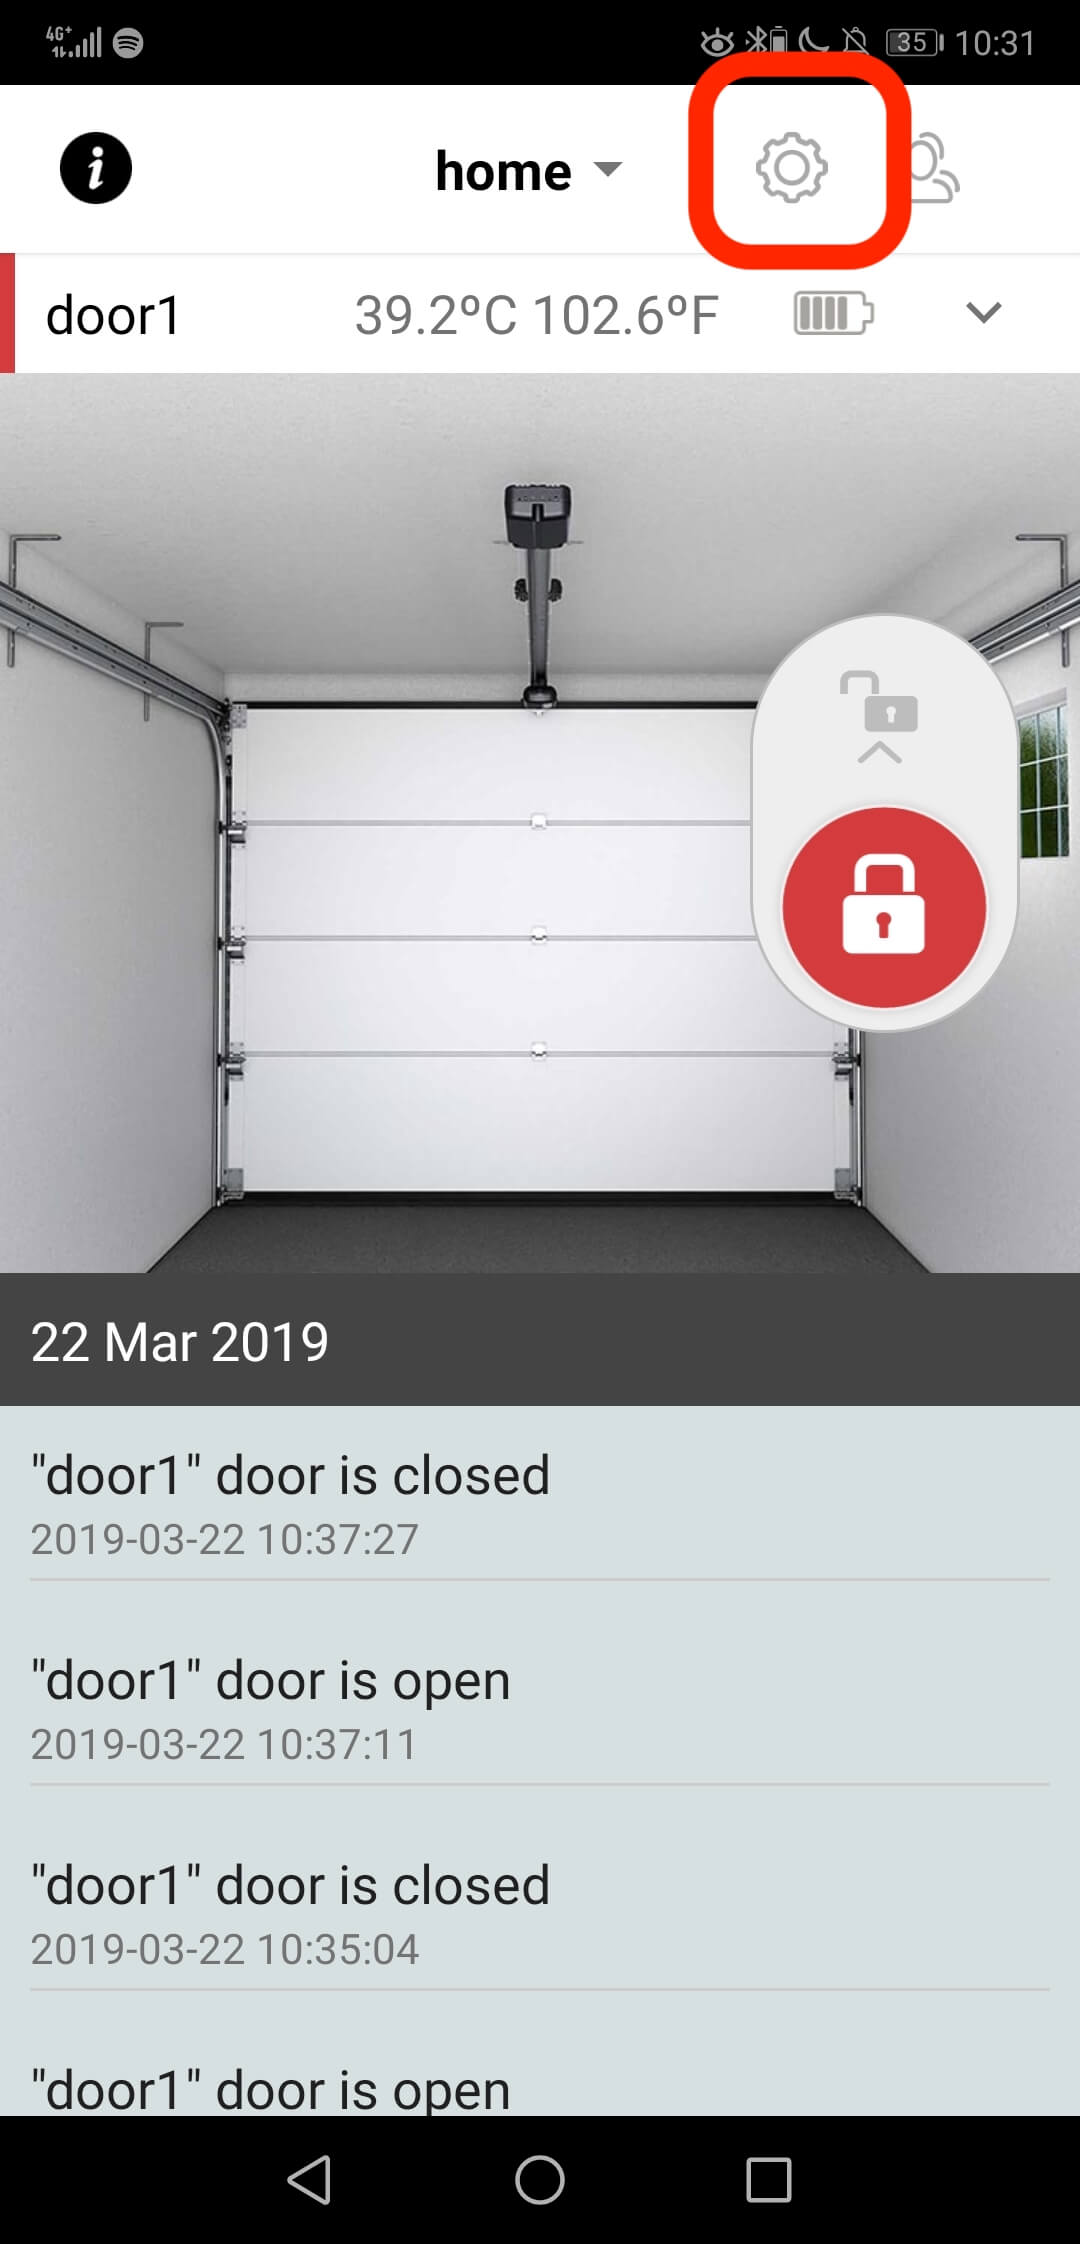
- Go to the ismartgate Settings
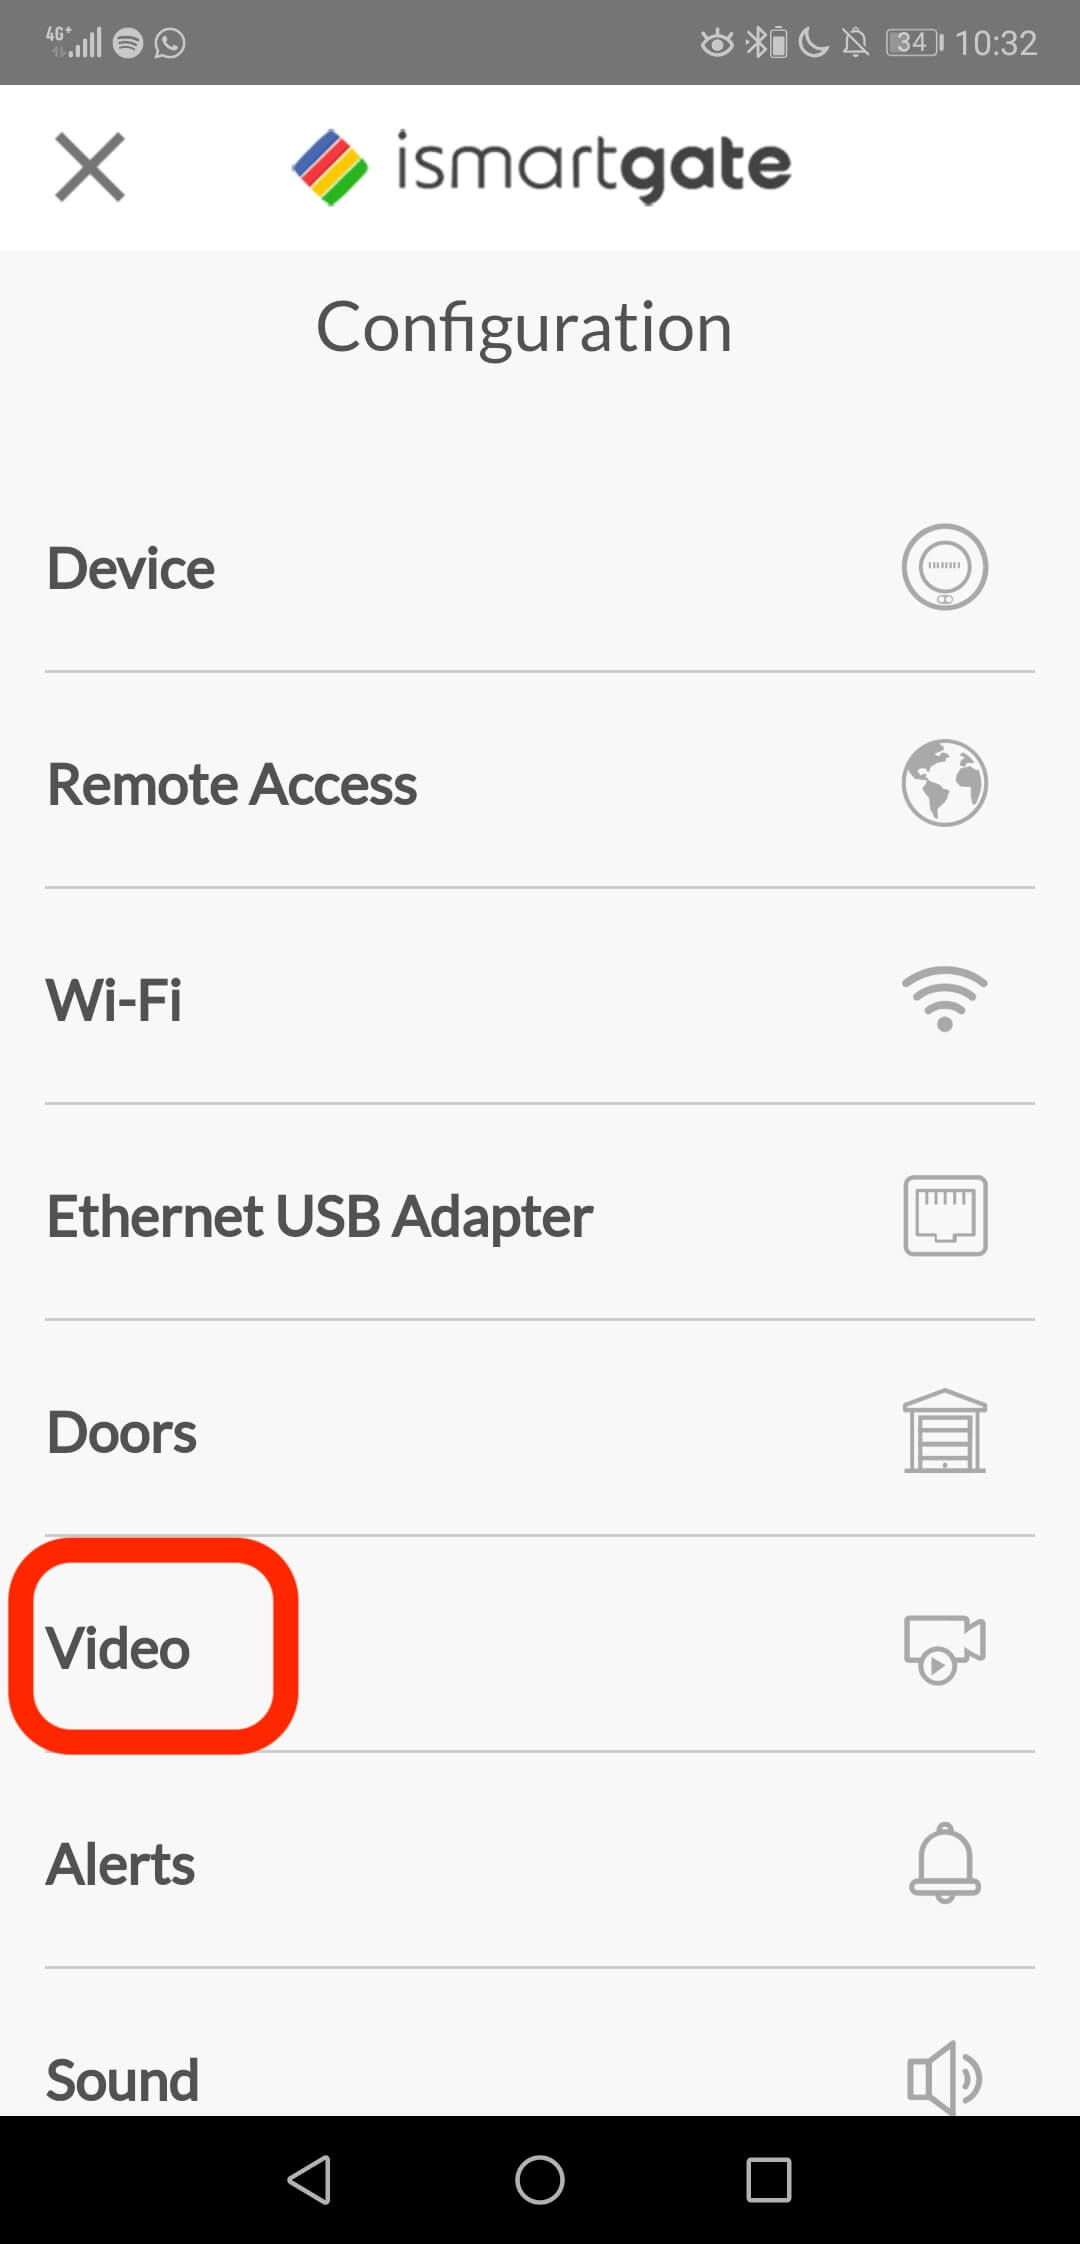
- Select the option Video
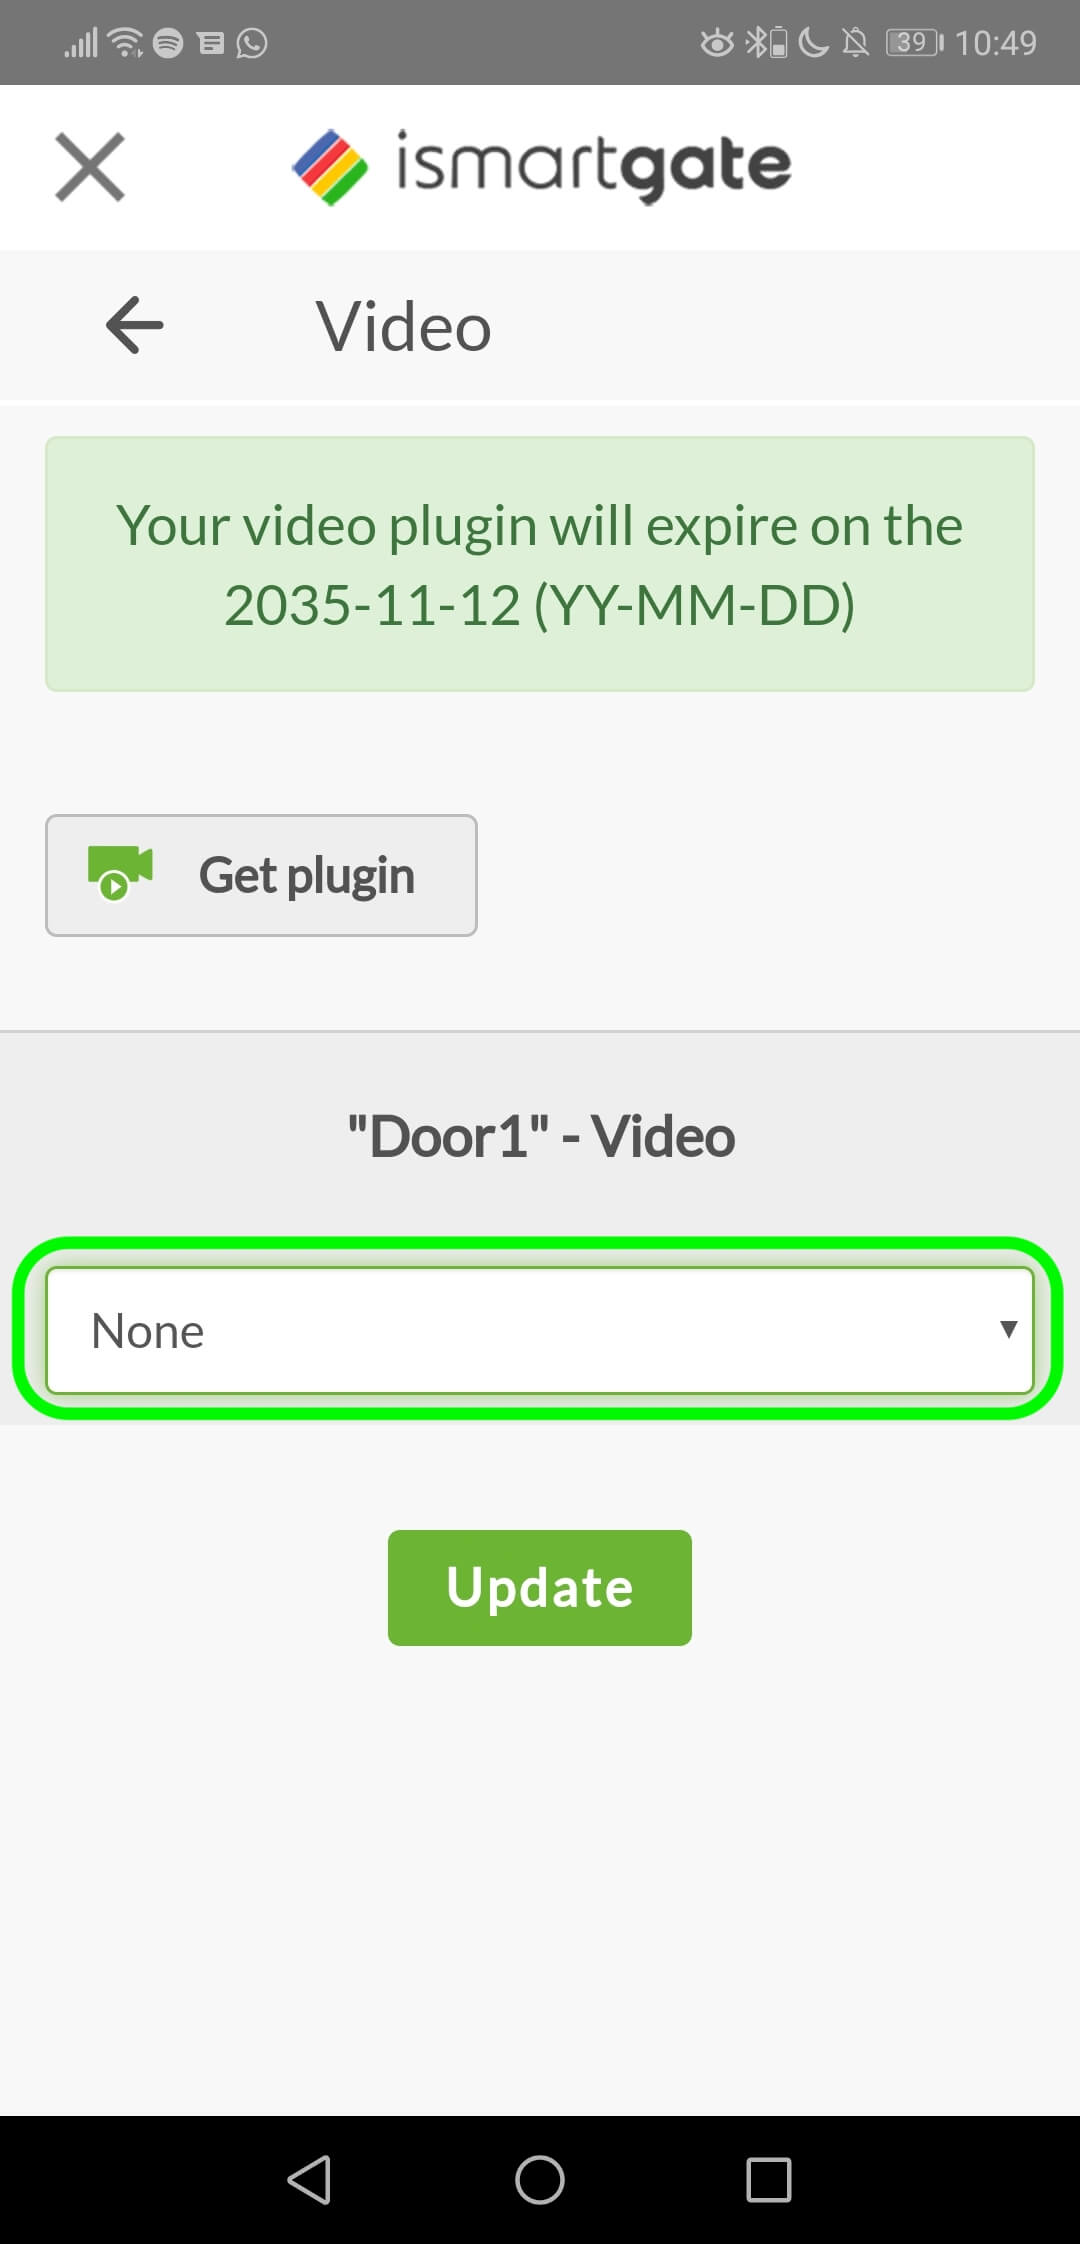
- Select the option to toggle the drop down menu with all the camera brands.
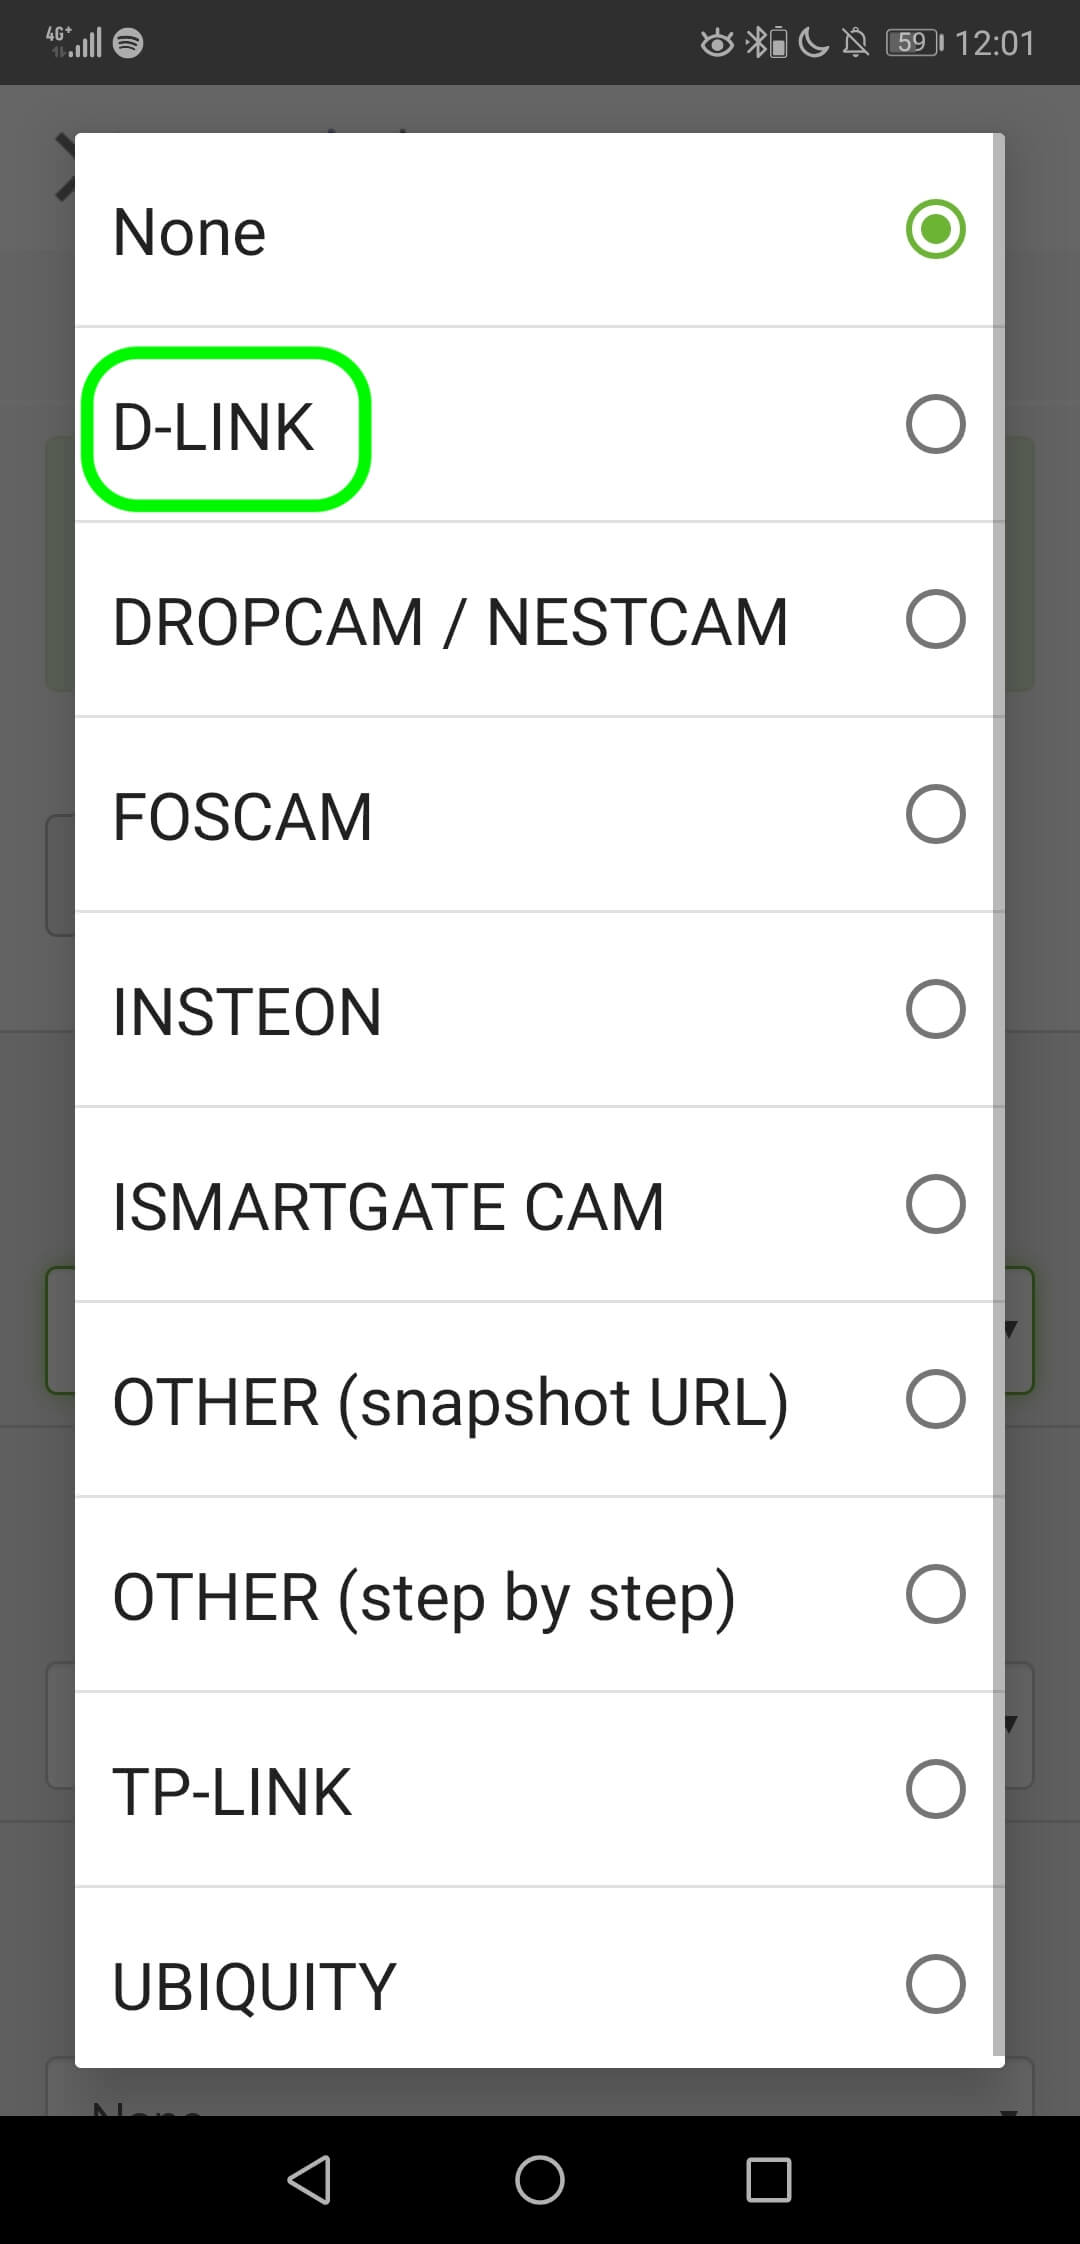
- Select your camera.
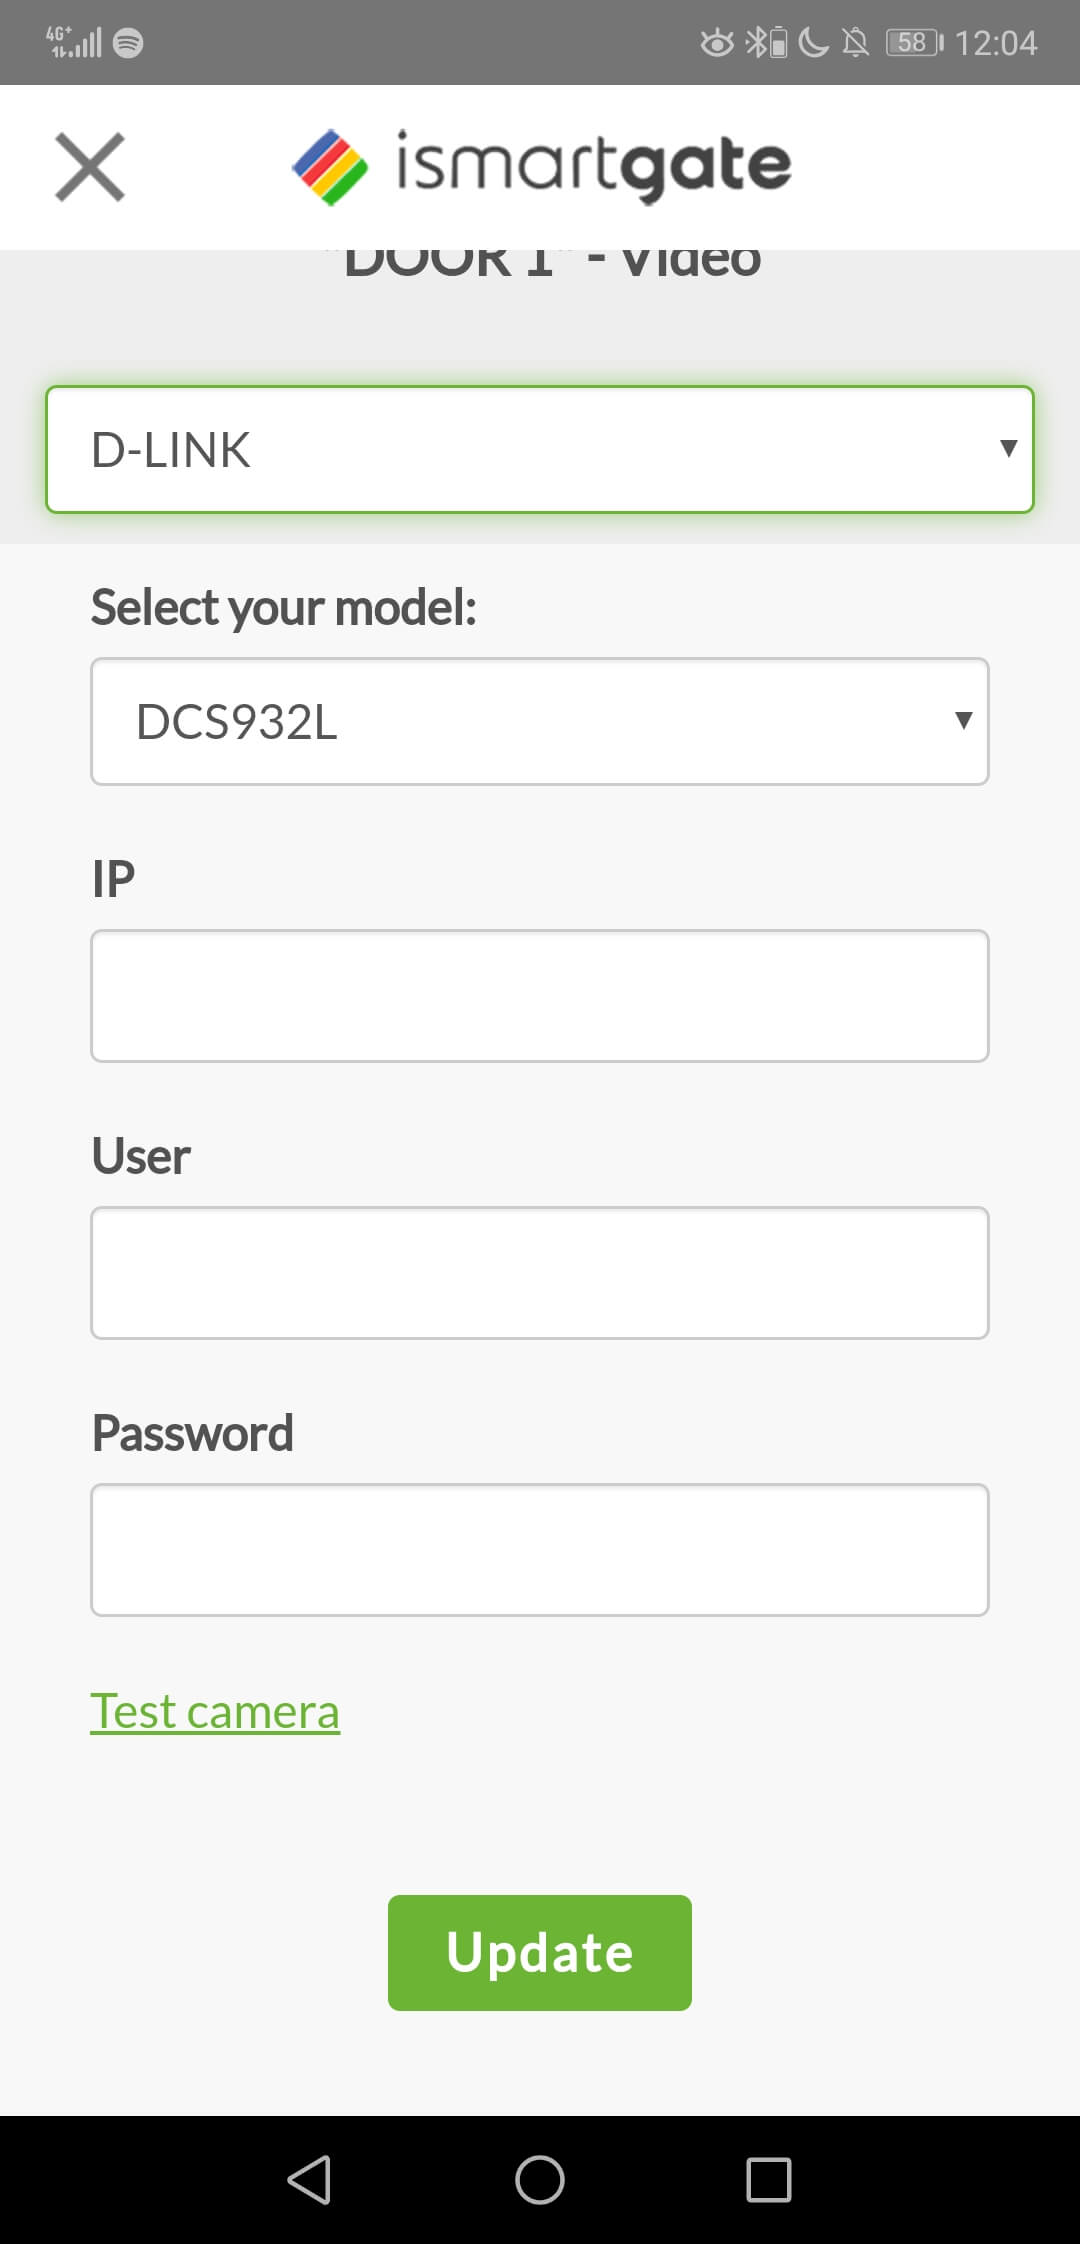
- Enter the IP of your camera.
- Enter the Username of your CAMERA, not the ismartgate device.
- Enter the Password of your CAMERA, not the ismartgate device.
- Select UPDATE.
In case you have any issues with the configuration of your camera, please do not hesitate to send us an email to support@ismartgate.com and we will be happy to assist you.
