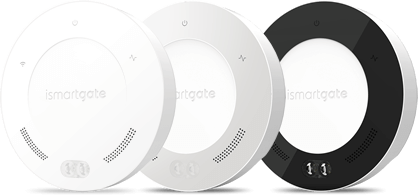
Pode verificar as luzes de estado do adaptador Wi-Fi USB do seu Gogogate2?
A) Se a luz azul NÃO estiver a piscar:
- Certifique-se de que o seu sinal Wi-Fi é suficientemente forte, as instruções são aqui.
- Verificar se a rede é a correta.
B) Se a luz azul estiver a piscar intermitentemente:
- Certifique-se de que o nome e a palavra-passe do Wi-Fi foram introduzidos corretamente.
- Se aparecer (Palavra-passe WEP incorrecta), as instruções para resolver este problema são aqui.
C) Se a luz azul estiver a piscar constantemente:
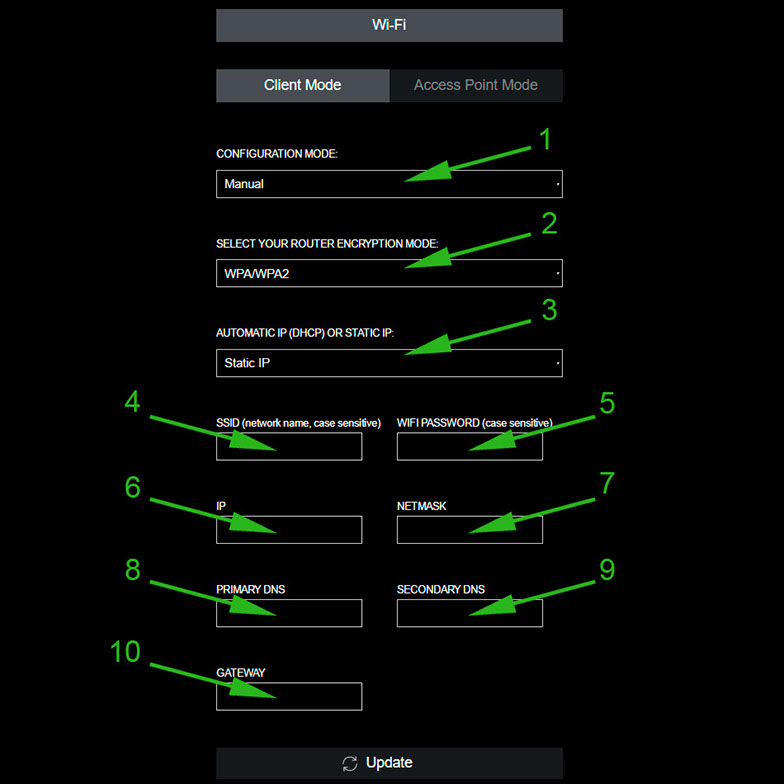
Este é um problema comum quando o seu router bloqueia os servidores DNS utilizados por defeito pelo Gogogate2. Para resolver este problema, é necessário configurar as definições de rede no "Modo manual":
- Em primeiro lugar, verifique o endereço IP do seu router. Se não souber como o fazer, clique no link ligação.
- Abrir a aplicação Gogogate2 e aceder ao menu de configuração do Wi-Fi (EDIT -> CONFIG DEVICE ->Wi-Fi).

- MODO DE CONFIGURAÇÃO: Selecionar MANUAL.
- MODO DE ENCRIPTAÇÃO: Escolha o tipo de encriptação utilizado pela sua rede Wi-Fi. Para verificar a encriptação, consulte a secção ligação.
- IP AUTOMÁTICO OU ESTÁTICO: Selecionar IP ESTÁTICO.
- SSID: Introduza o nome da sua rede Wi-Fi, onde pretende ligar o Gogogate2.
- PALAVRA-PASSE WI-FI: Introduza a palavra-passe da sua rede Wi-Fi.
- IP: Introduza aqui um endereço IP válido para a sua rede. Por exemplo, pode introduzir o mesmo endereço IP do seu router, mas substituindo os dois últimos dígitos. Se o endereço IP do router for 192.168.1.1, o endereço IP do Gogogate2 será 192.168.1.25
- NETMASK: Introduzir aqui a máscara de sub-rede (por defeito 255.255.255.0).
- DNS PRIMÁRIO: Introduza aqui o seu endereço IP do router.
- DNS SECUNDÁRIO: Apresente aqui novamente o seu endereço IP do router.
- GATEWAY: Apresente aqui novamente o seu endereço IP do router.
Por fim, prima ACTUALIZAÇÃO para guardar todas as alterações.


